Archives for posts with tag: bookbinding how-to

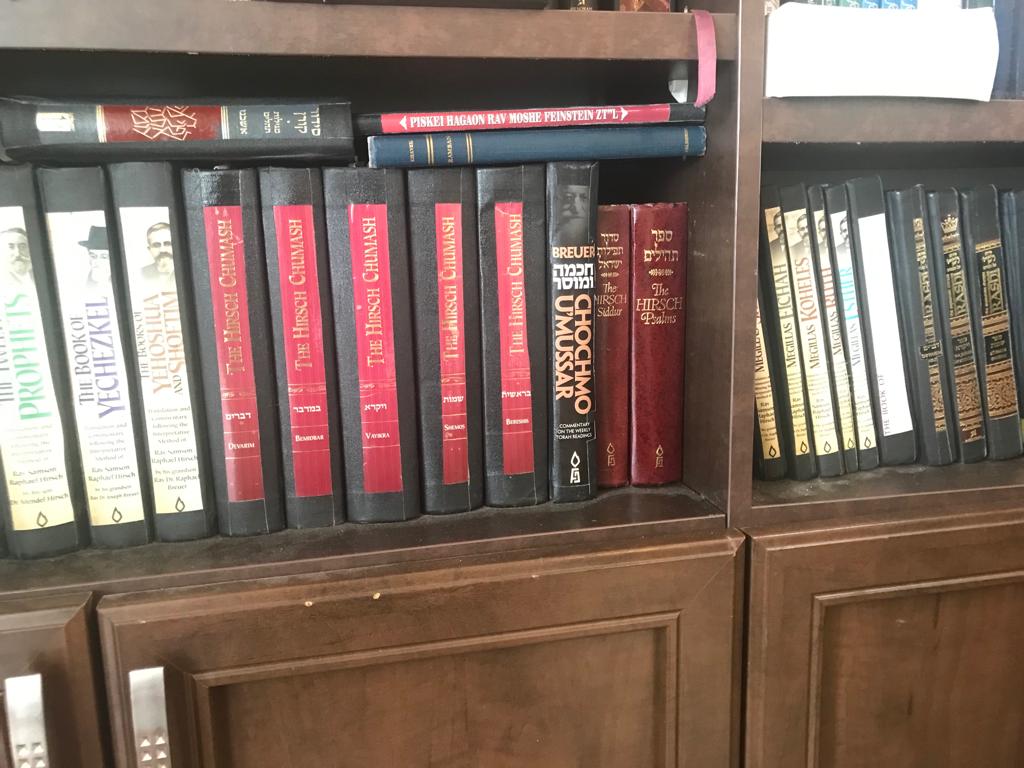
Once you’ve determined you want to bind your sefer, how do you actually do it? In this post I am going to describe the general process of binding a sefer. I have been binding seforim for more than 12 years. I started with my own seforim and then bound for friends, and then started binding for other customers who want their books fixed or reinforced, including shul and Yeshiva libraries. 

As with any craft, the attention to detail is what sets one bookbinder apart from the next. Make sure your tape is placed evenly and symmetrically. Choose colors that complement the book. The more pride you take in your work, the more it will show.

When Is the Best Time to Bind Your Sefer?

When it’s brand new and hasn’t encountered any damage yet! That way, you will enjoy it for many years to come.

How to Bind a Sefer in Good Condition

These are the 5 steps that I take when I bind books or seforim.

First, I take stock of the book. Is the spine ripped? Did the whole cover fall off? If yes, I look more thoroughly at the book to see if there are pages that are loose or have fallen out.

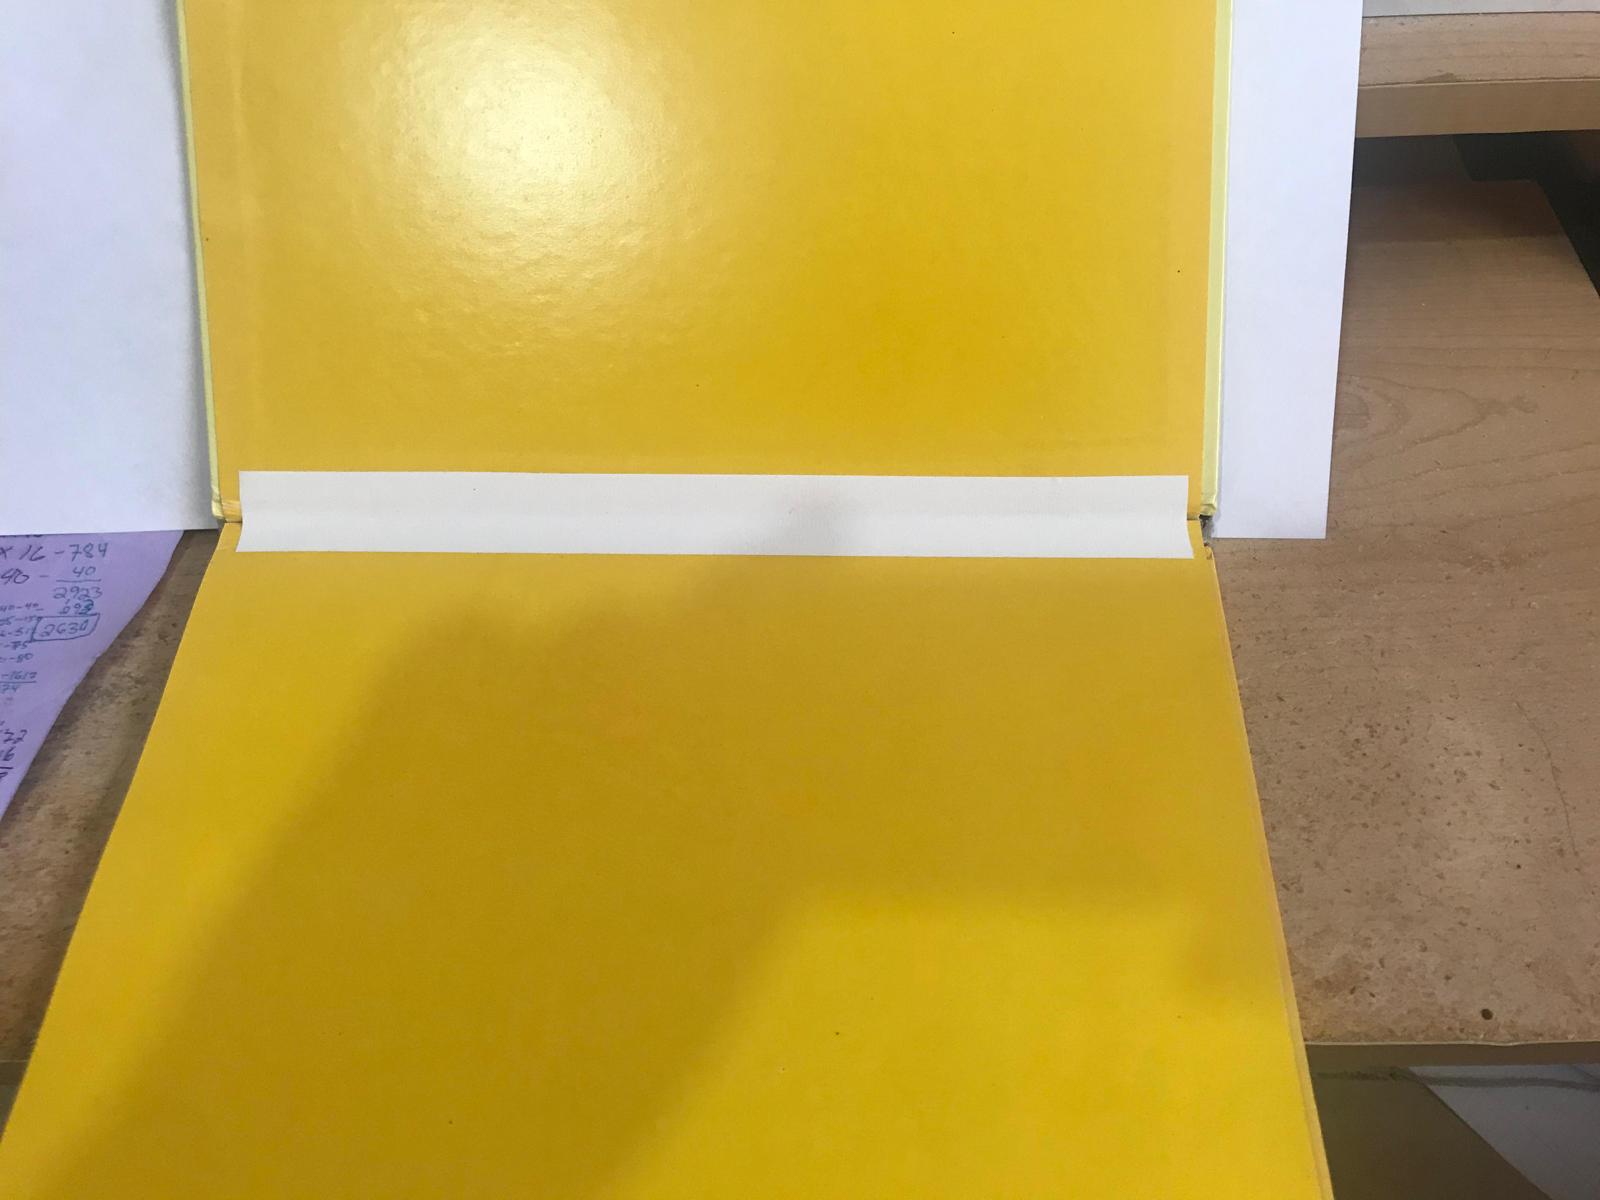
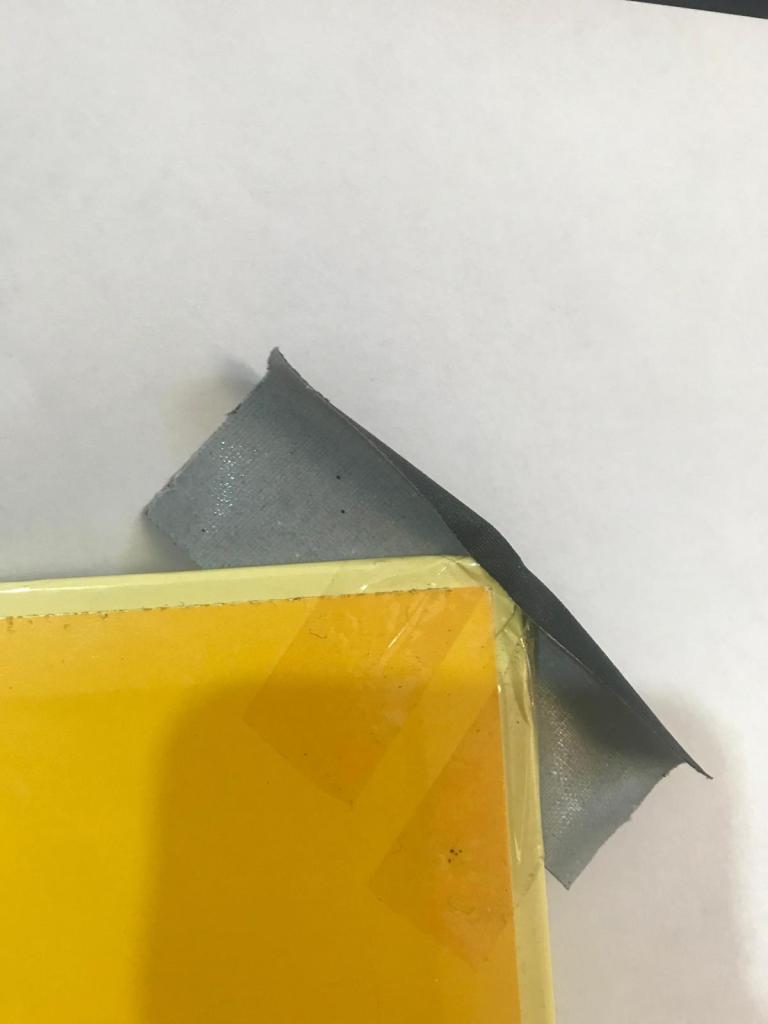
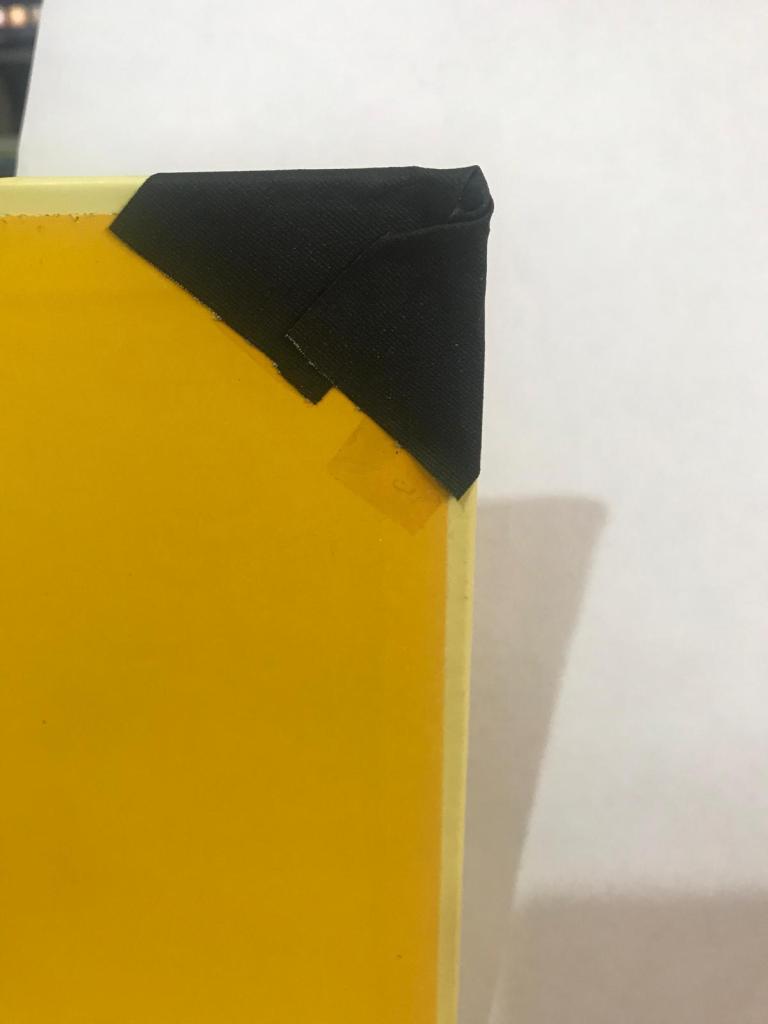
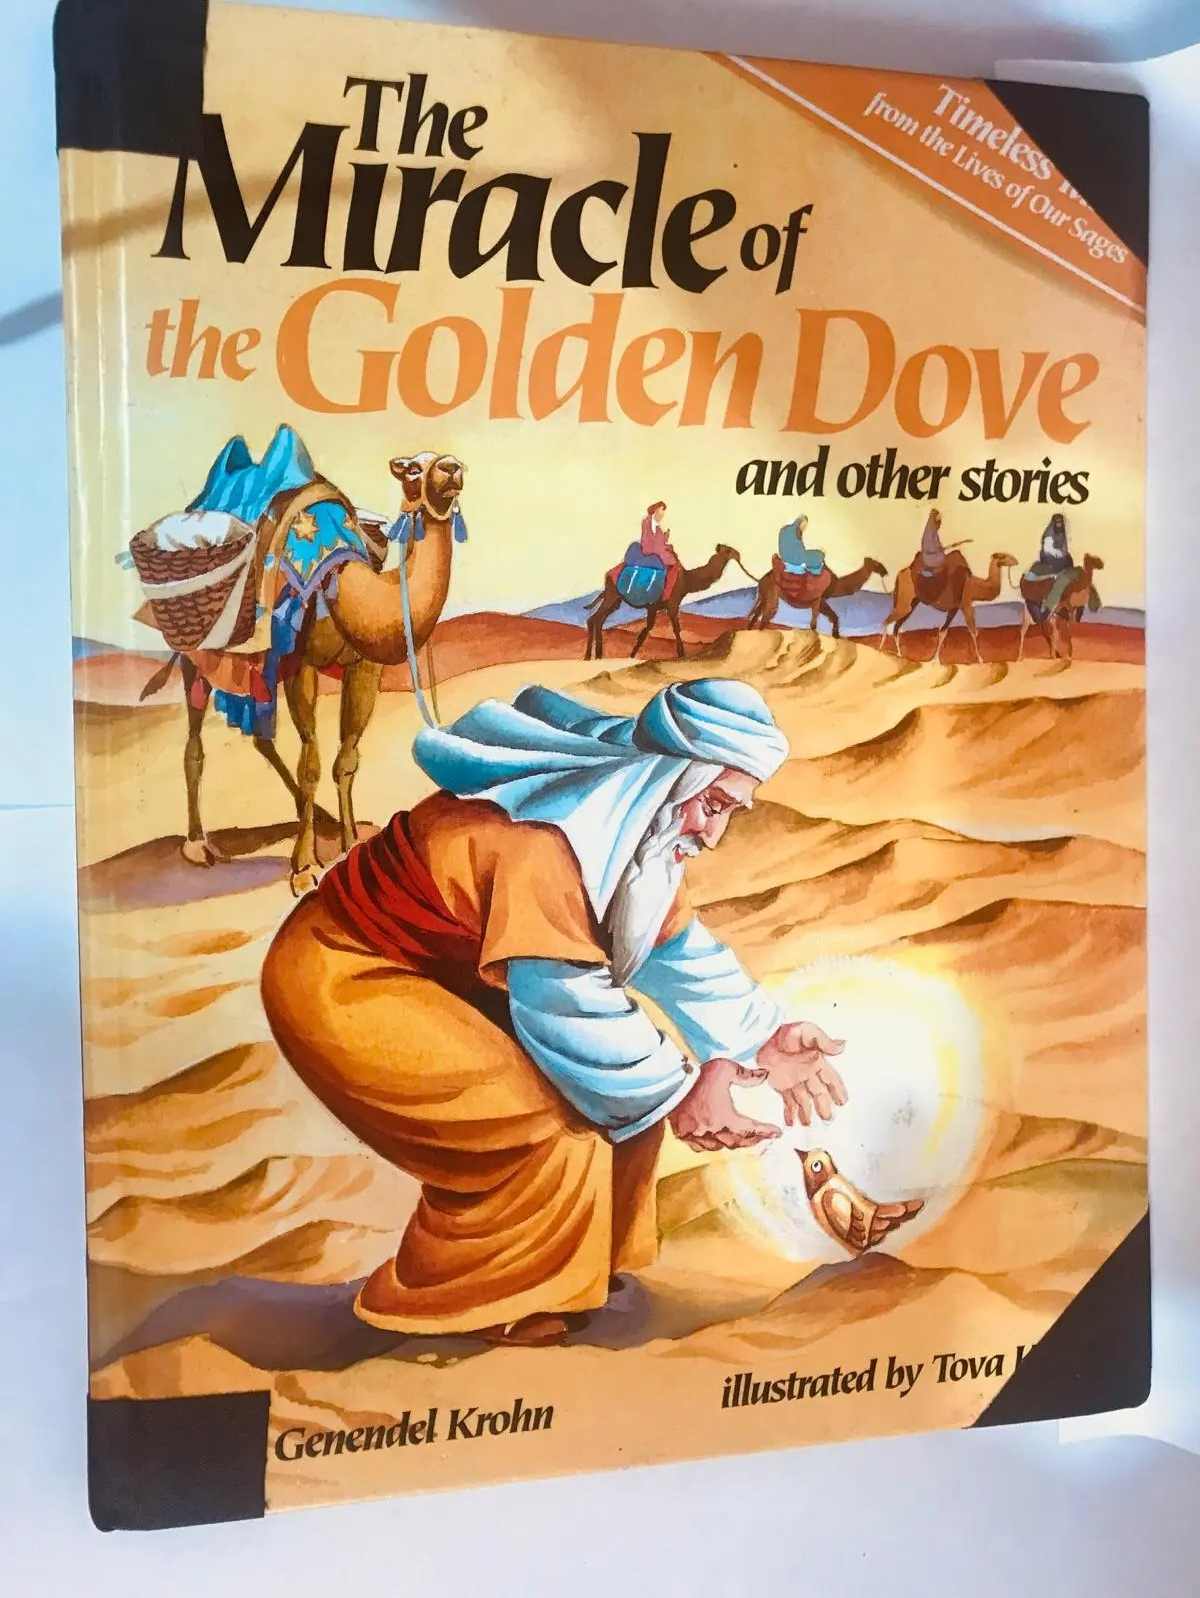
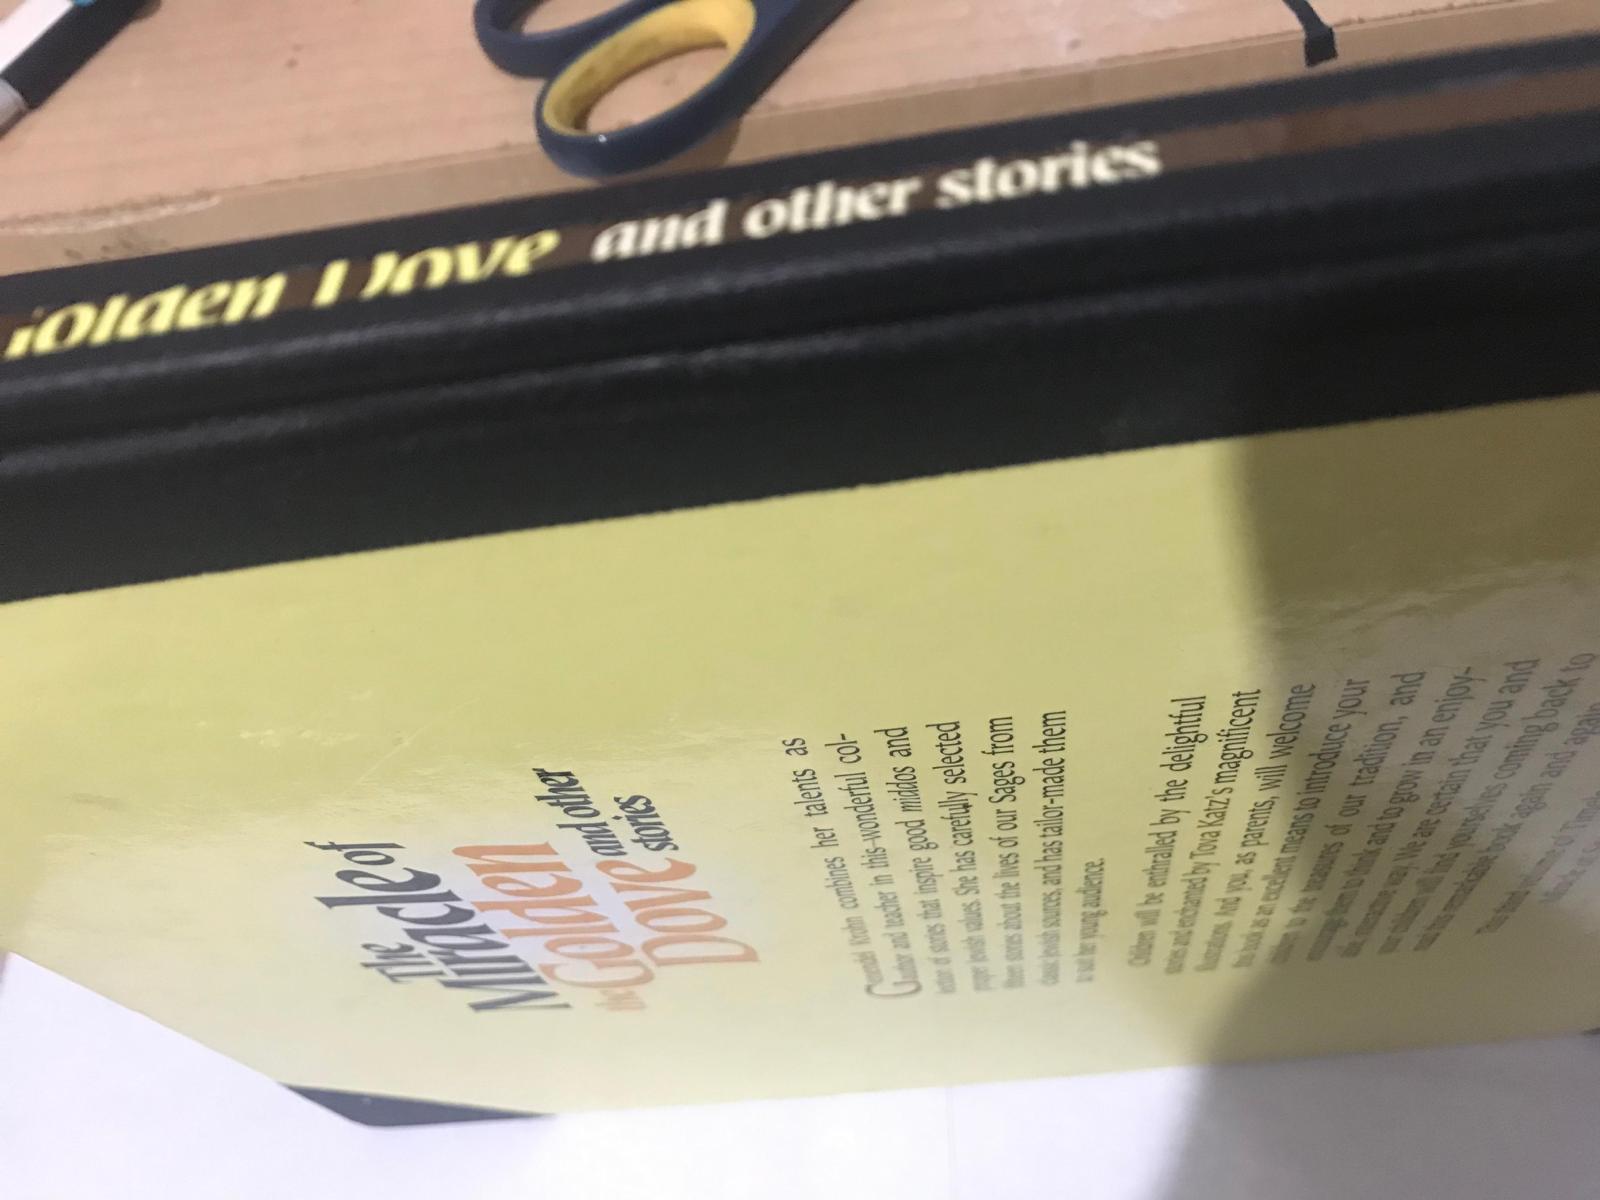
Then, I prep the book by taping in a few key places, prior to drilling the holes in the book.  (The book pictured below is one of my kids’ books, not a client’s)

I put a strip of 1” white tape on the inside cover.

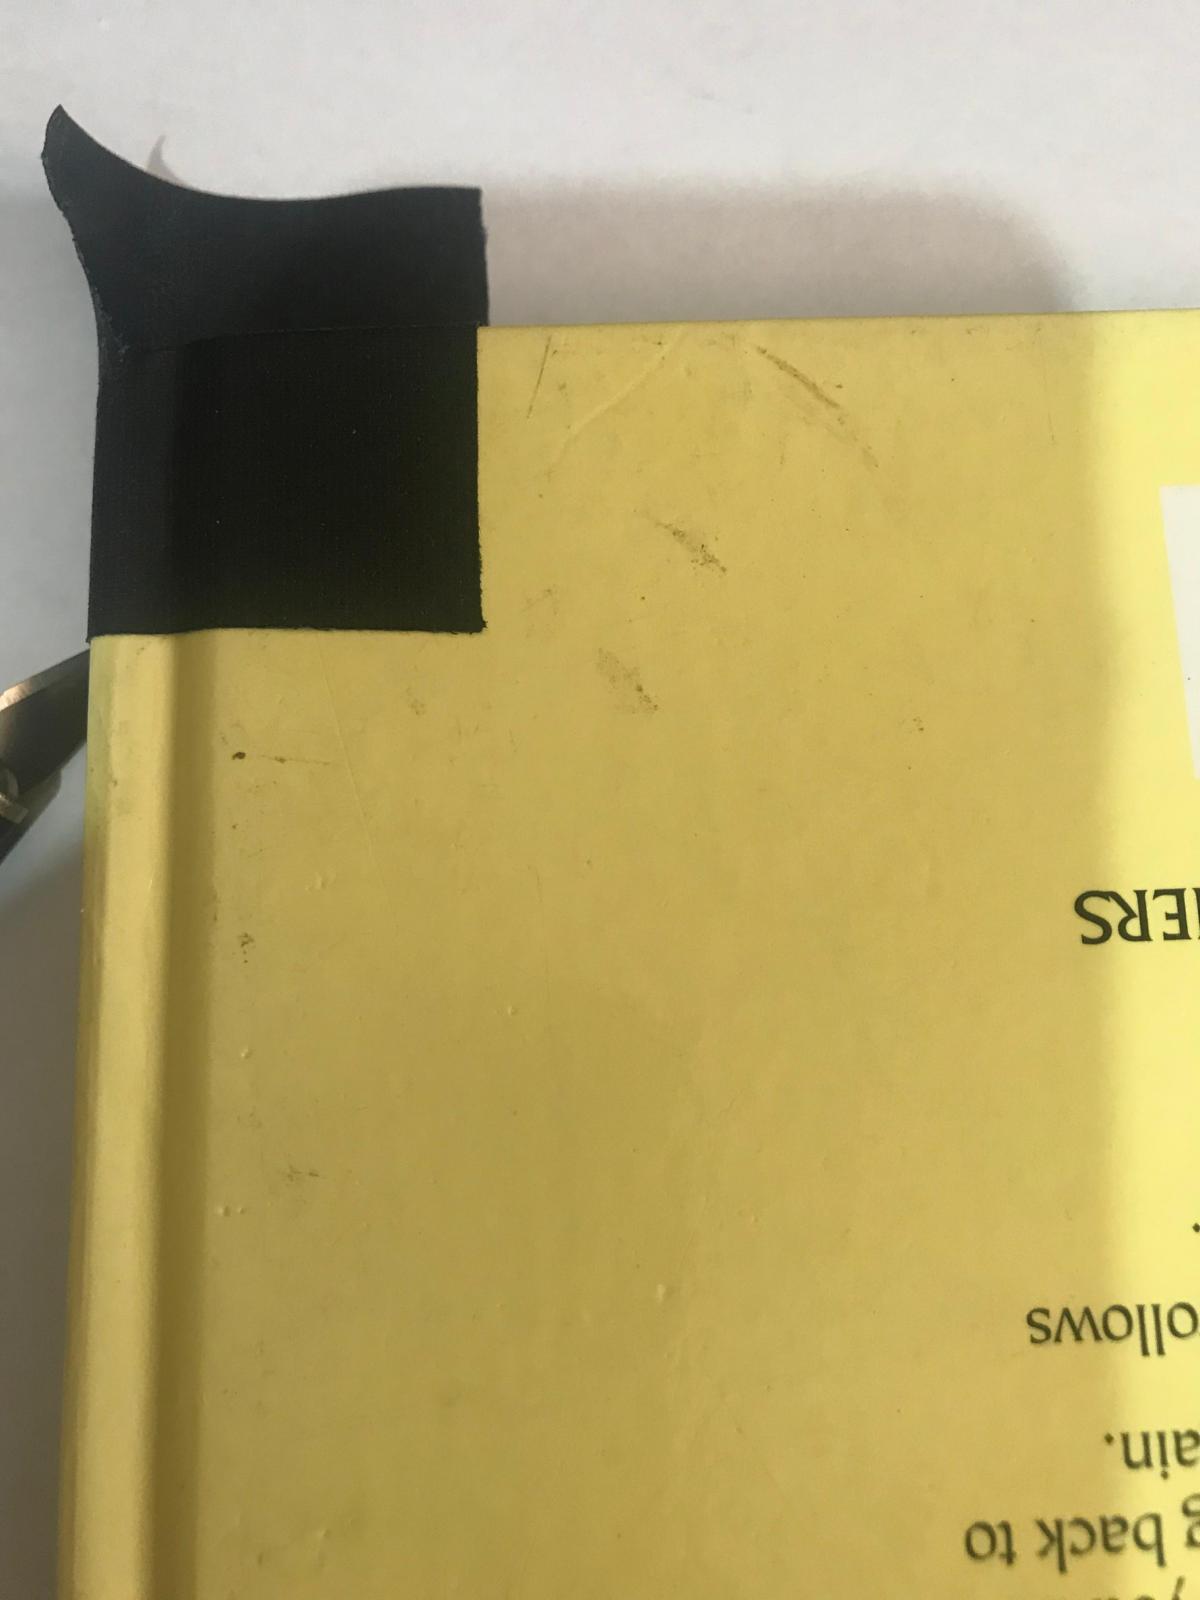
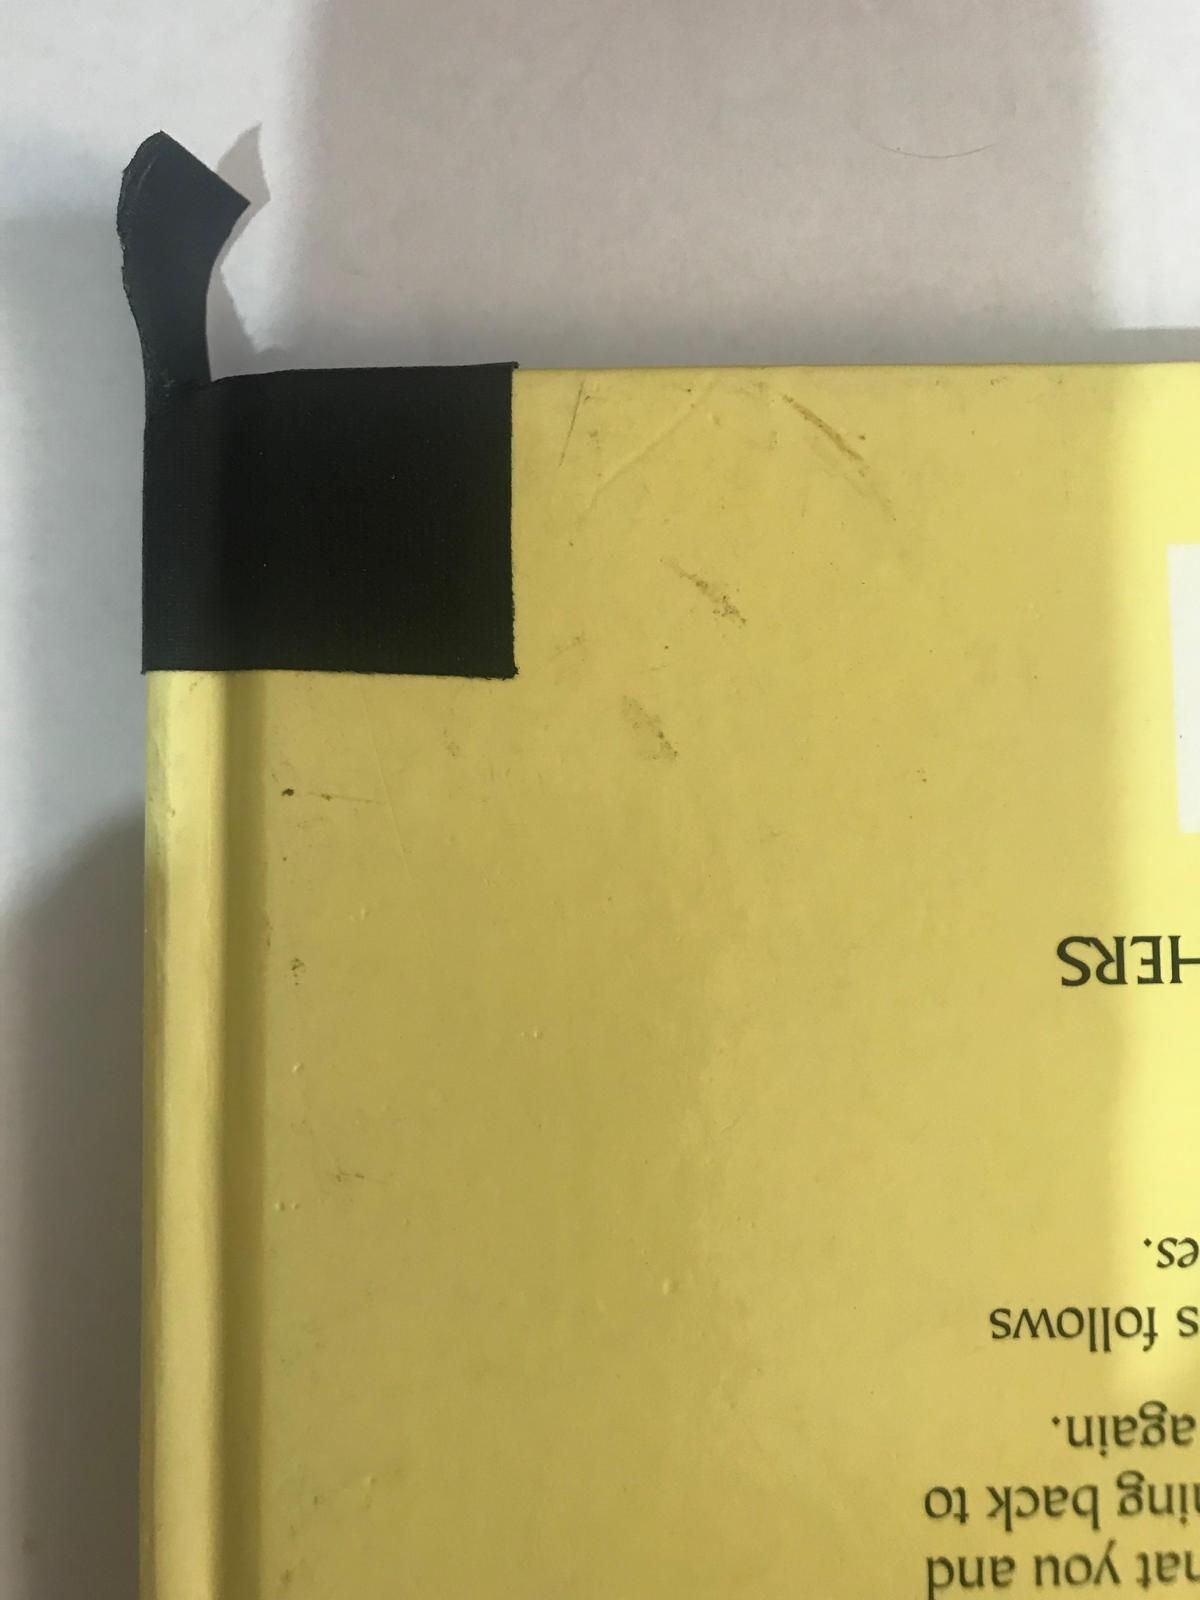
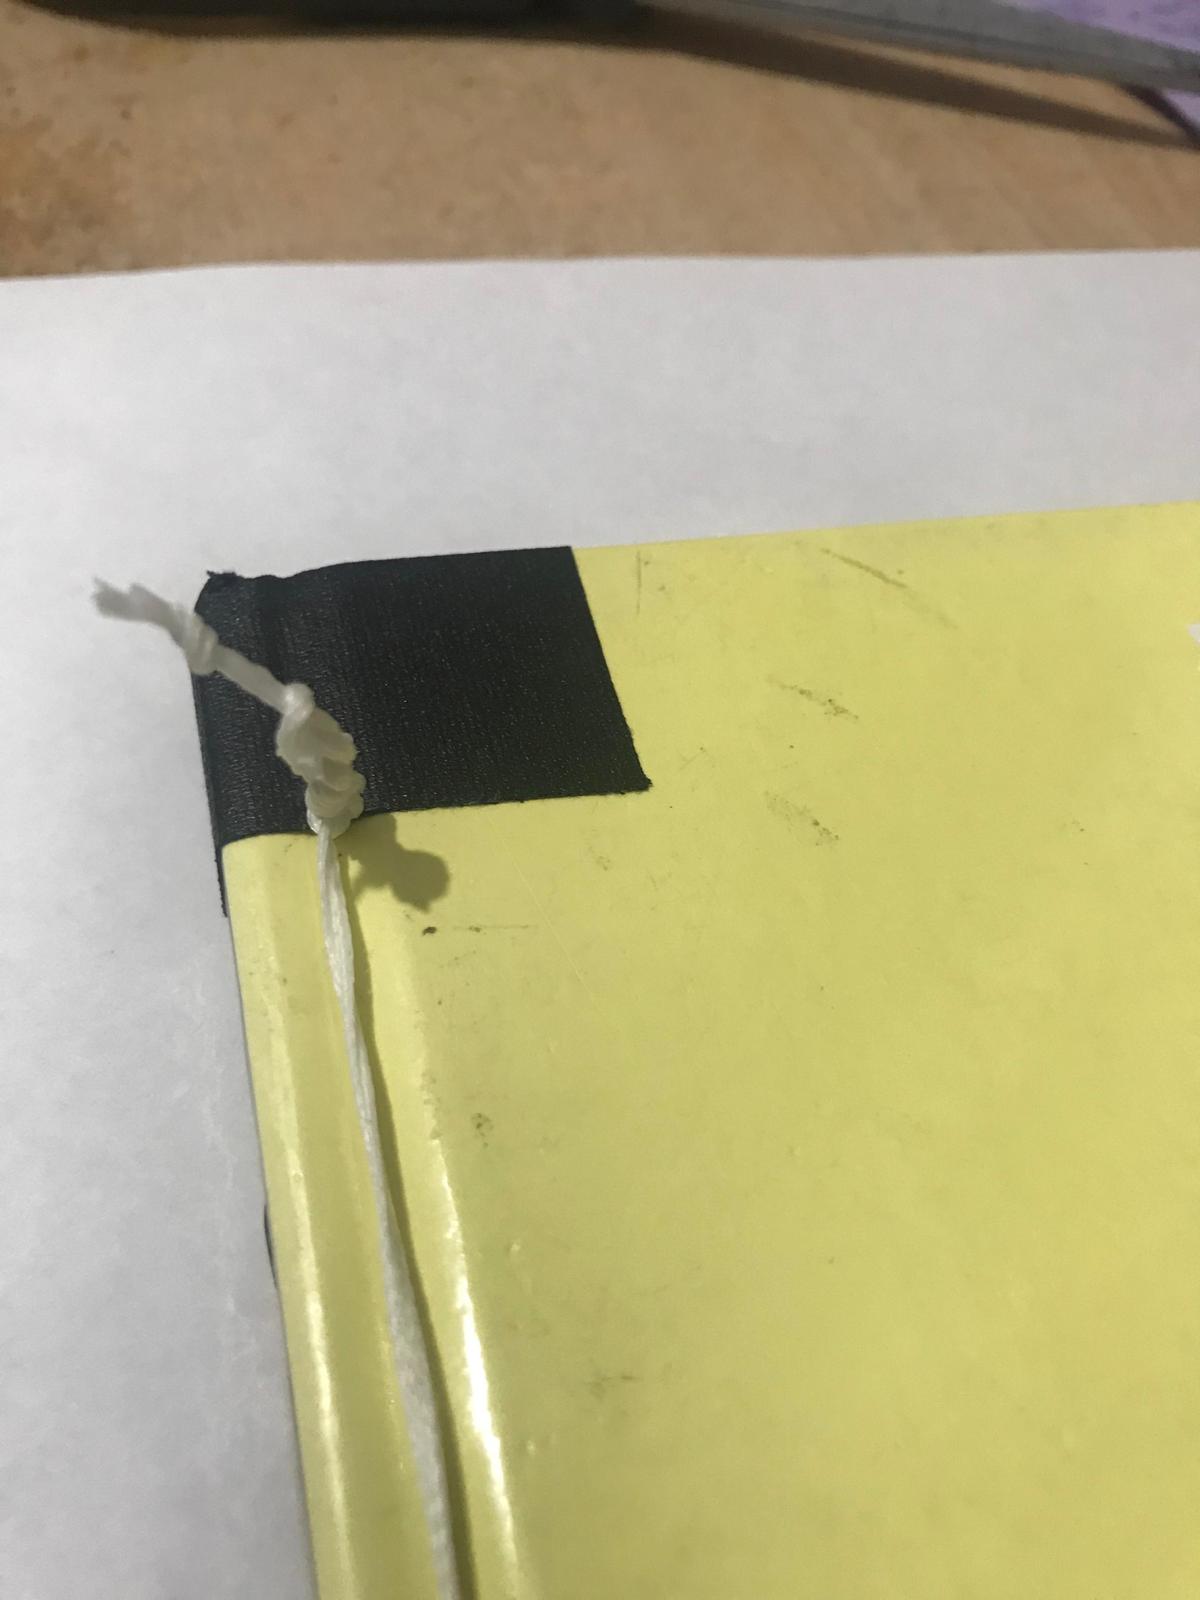
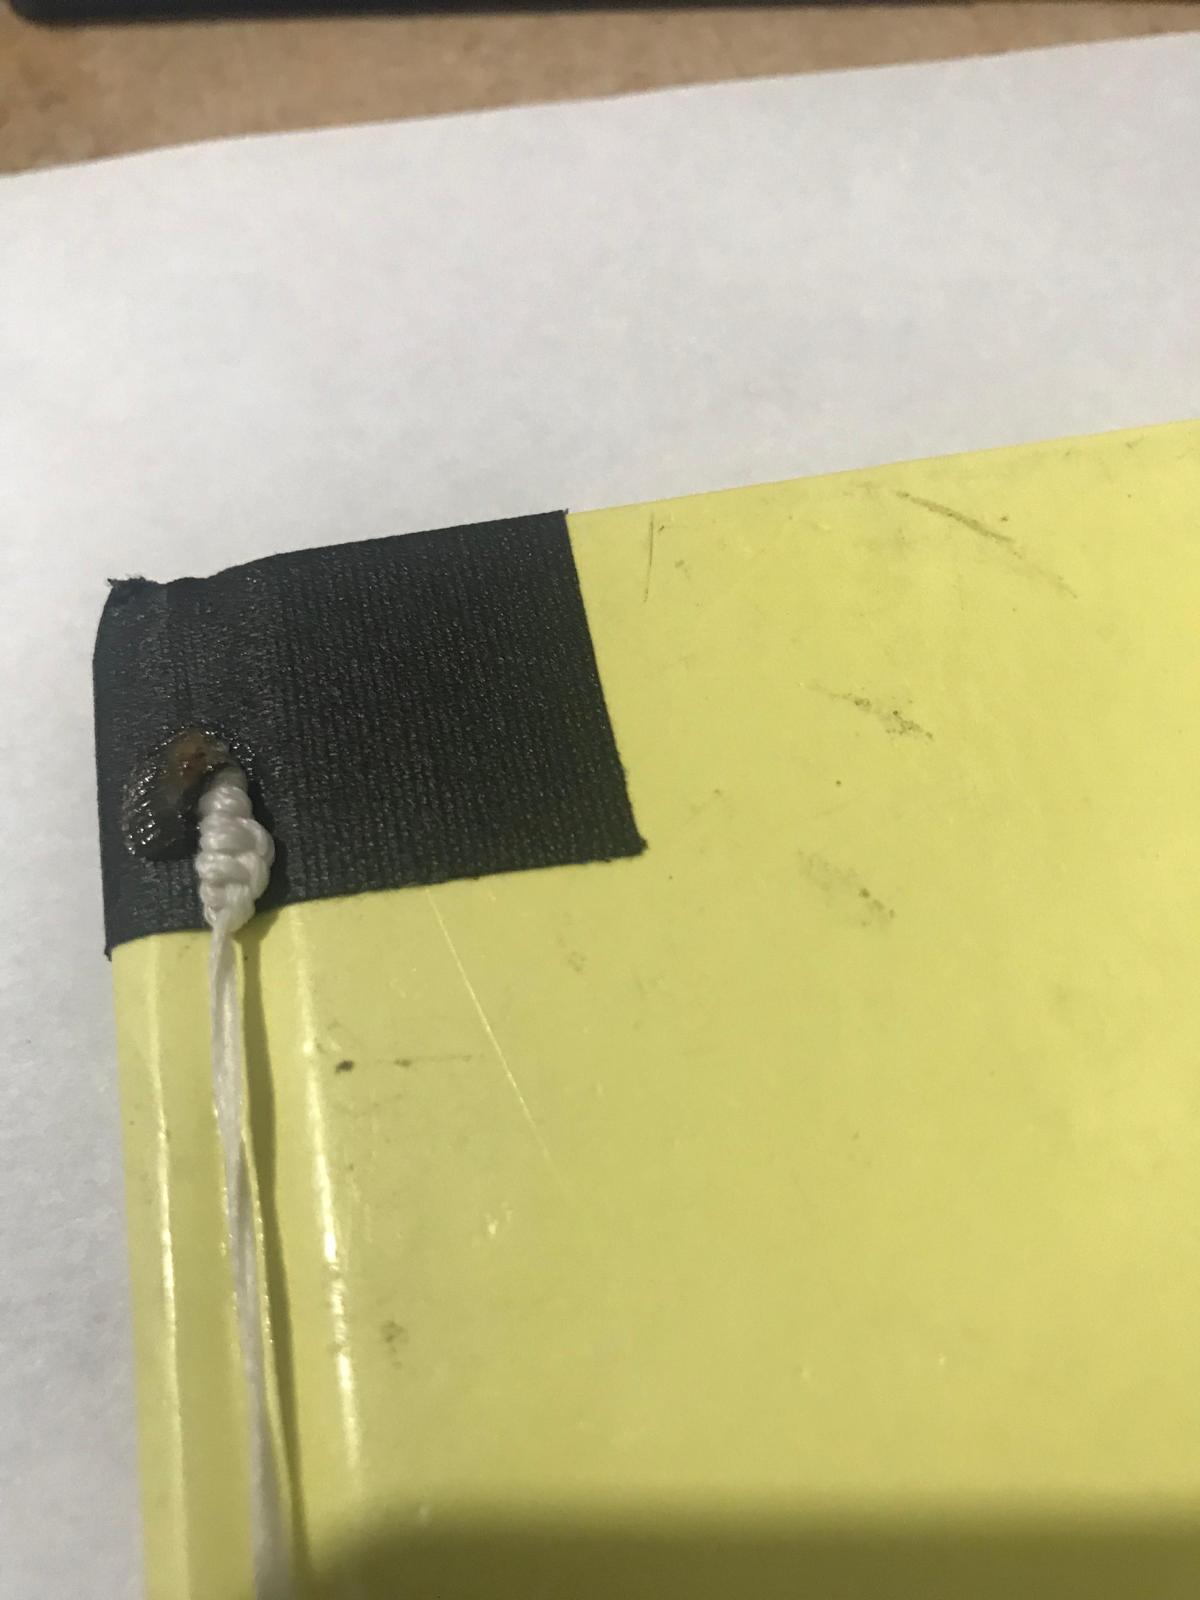
Then I put 1.5” black tape diagonally on each corner of the cover. Step by step pictured below. See the prior post for my favorite Gaffer tape companies. (Ignore the scotch tape; residual from my 6-year-old’s attempt at “fixing” the book alone).

After, I put 2” black tape on the spine at each end, cut through it with a box cutter, and wrap it fully over the spine.

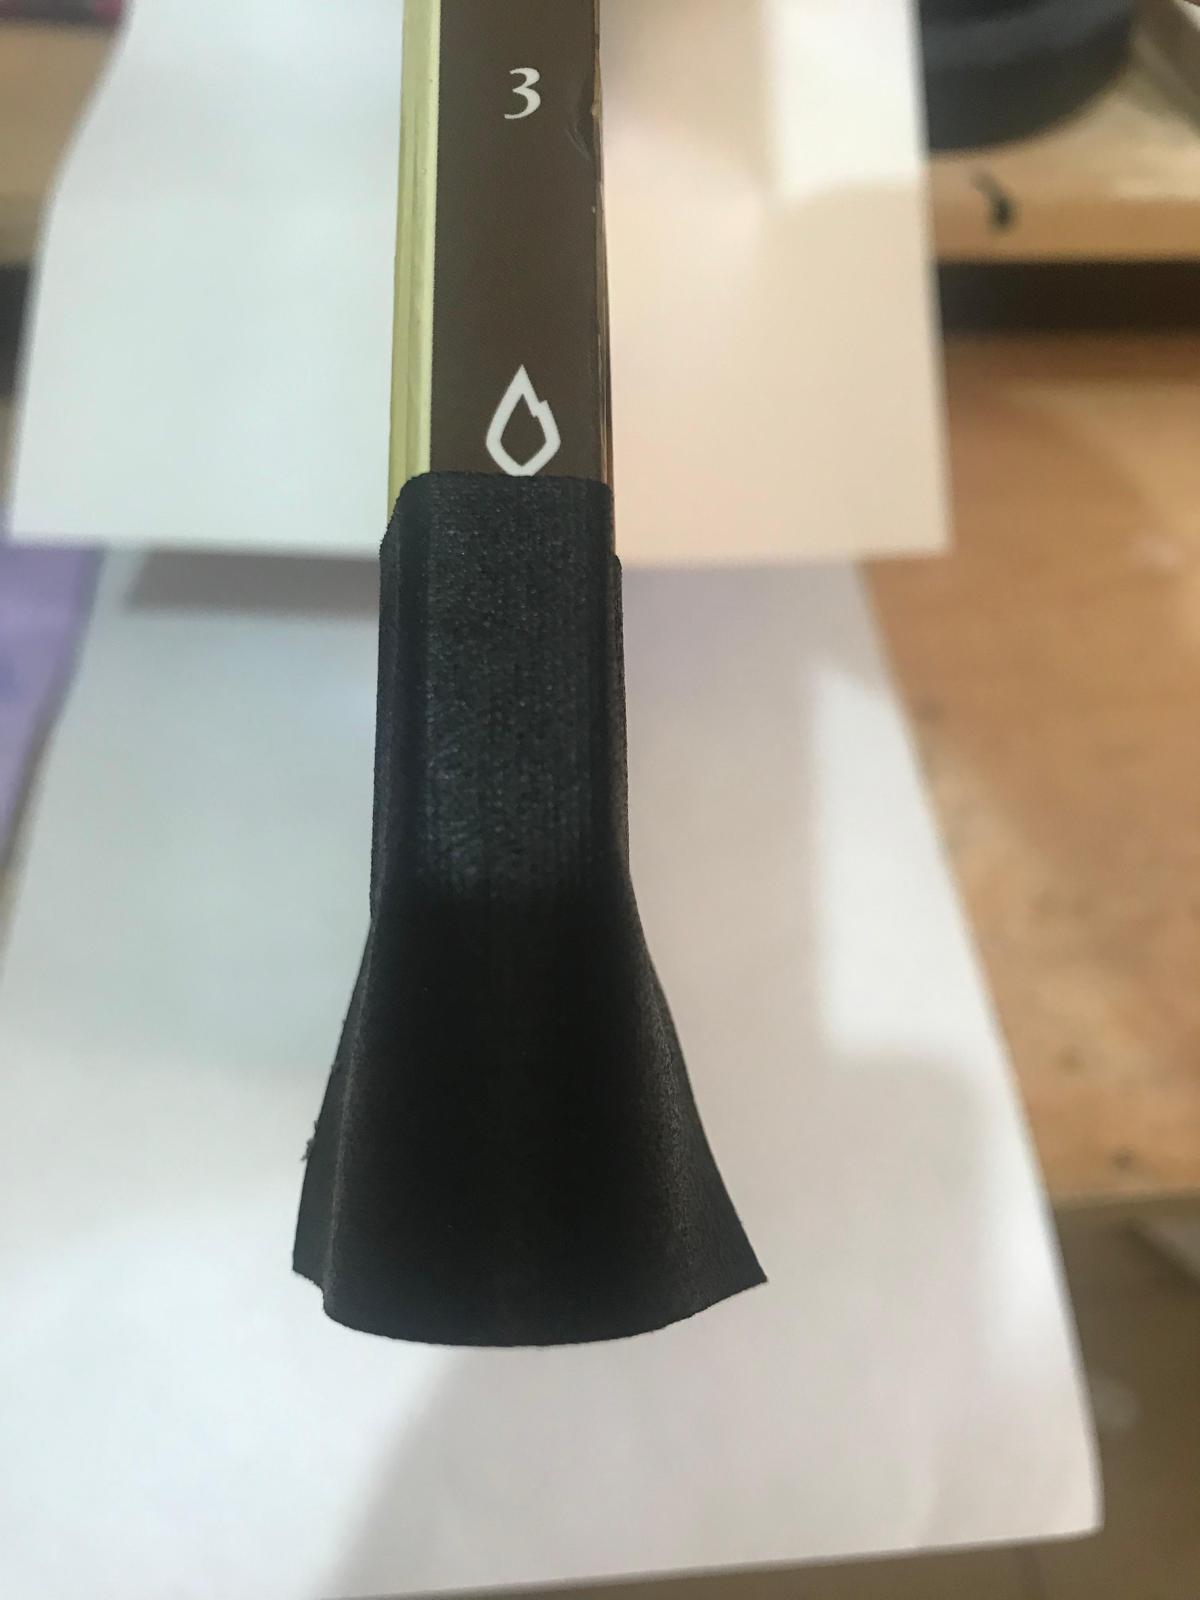
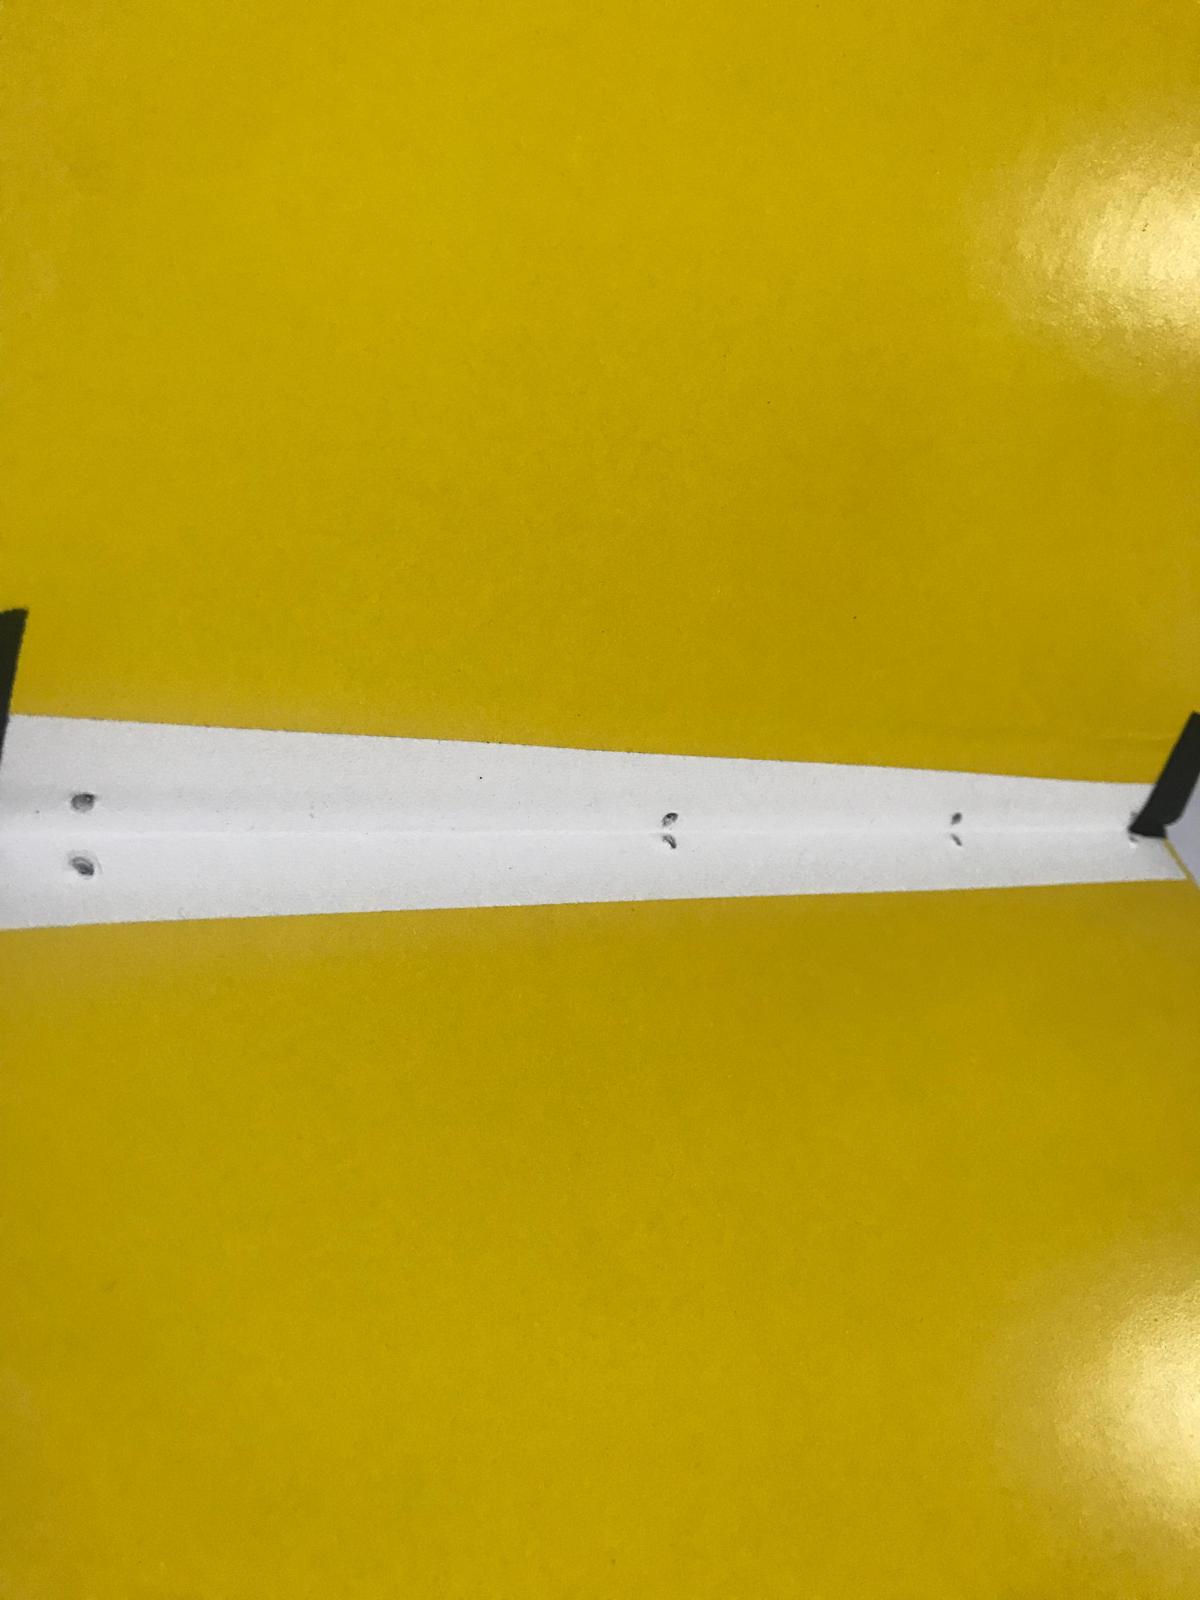
This is what it looks like when it’s ready for drilling.

Next, I drill 2-6 holes, depending on the size of the book, straight through the book, close to the margin. For this, I use a 2.5-mm-long drill bit.

Once the holes are made, I sew the string through the holes.

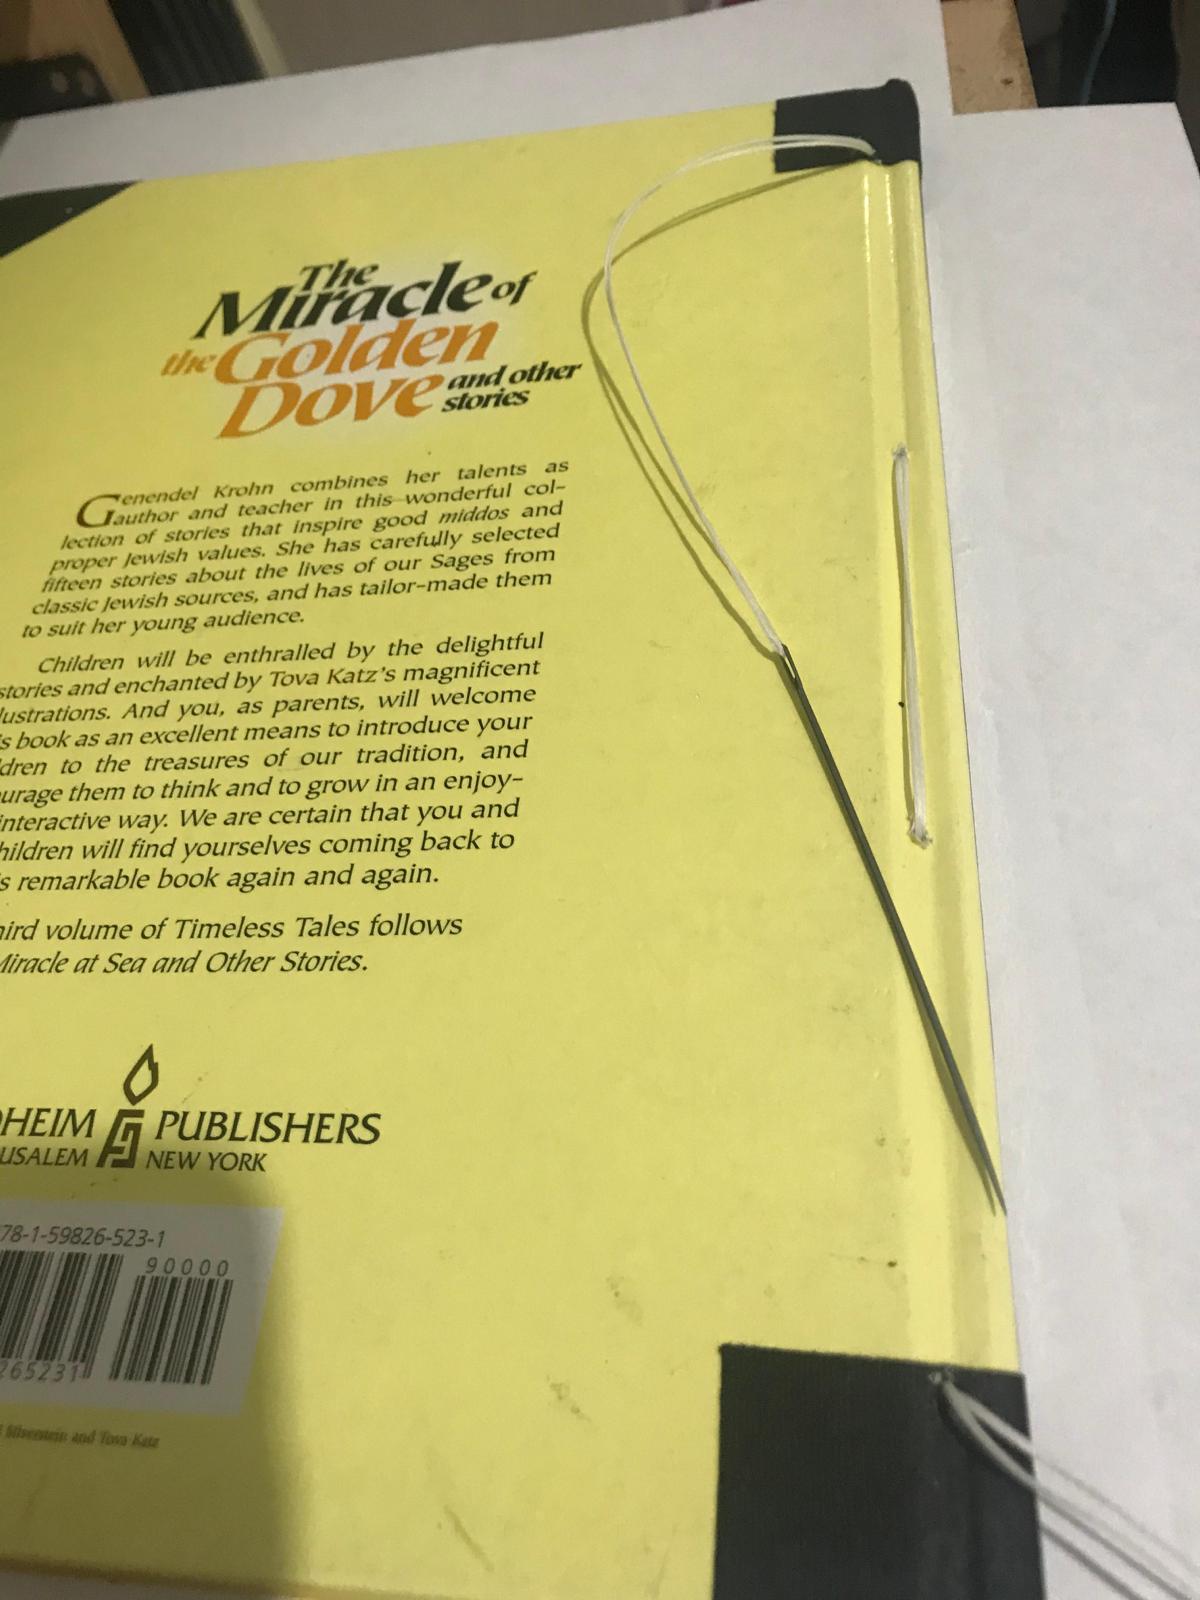
I then tie the ends together and secure the knot with a little heat.

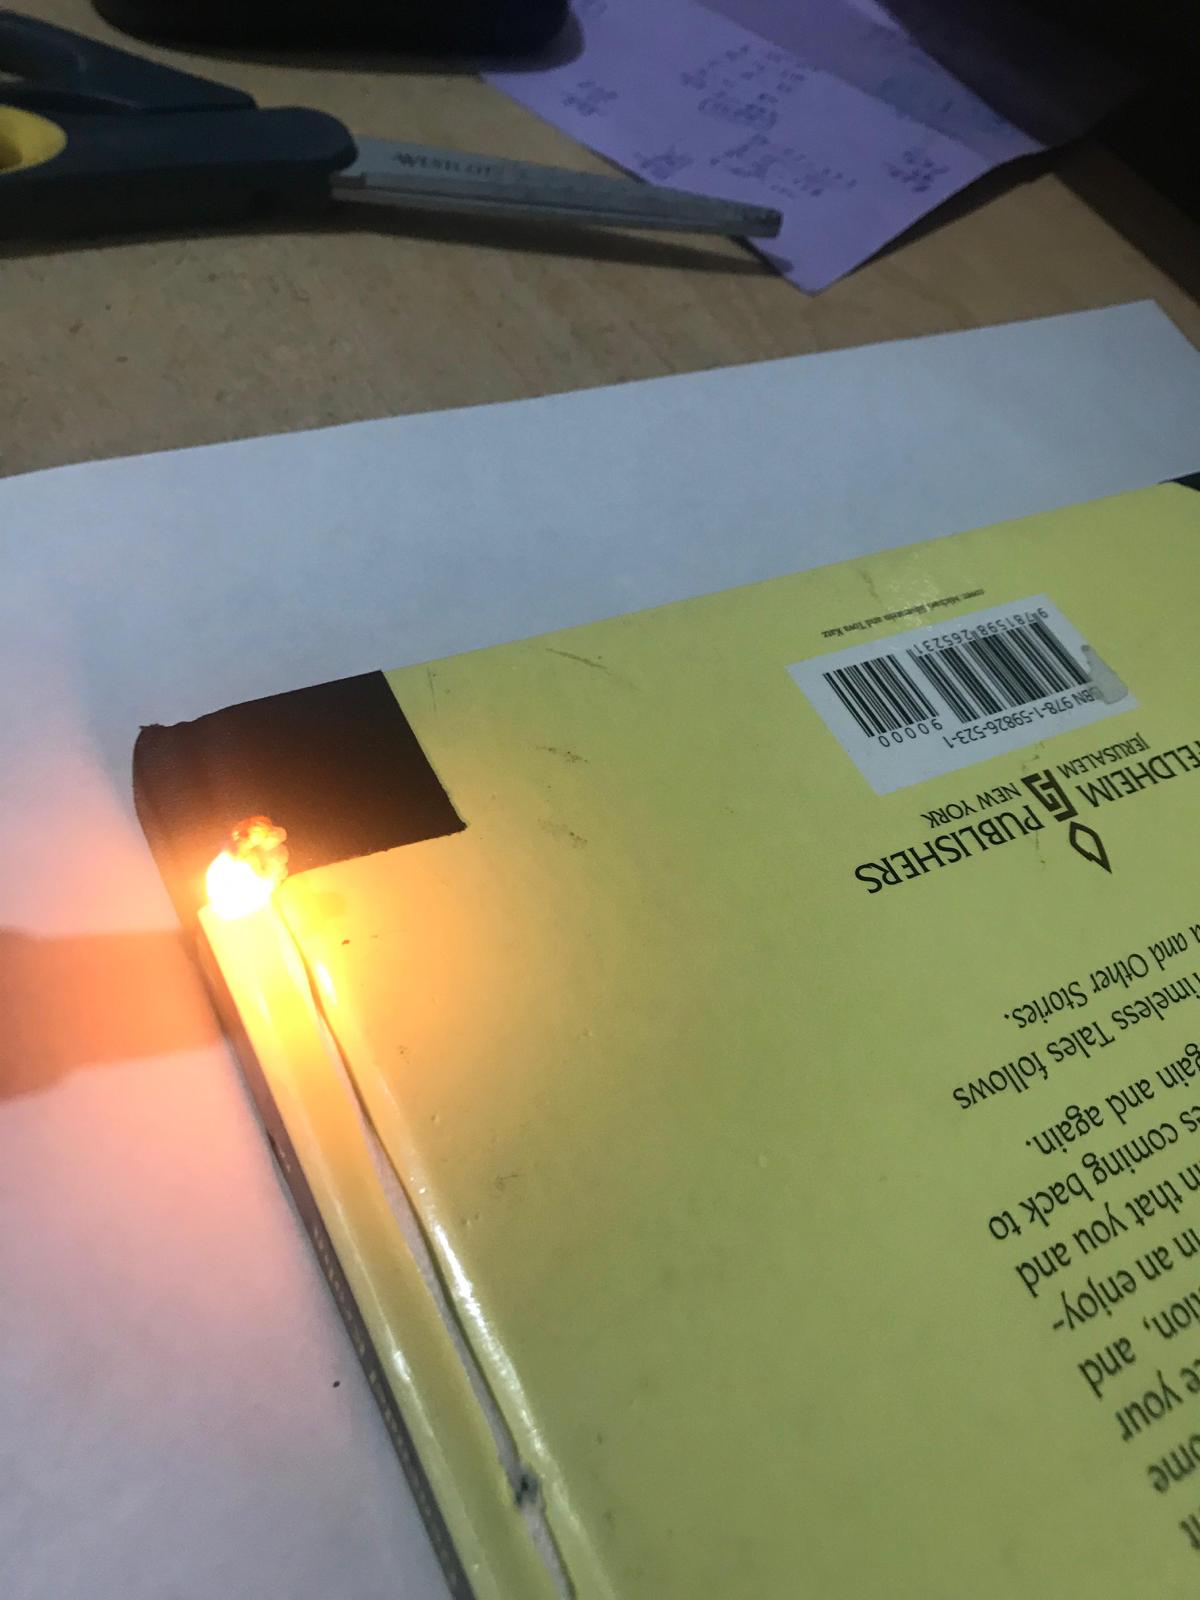
After I string up the book, I usually spray a lacquer on the side of the book on the spine to protect the words from wearing off.

Once the lacquer is dry, I use 1” black tape down the spine to cover the string.

Your book is now done.

For more complicated books where the book and cover are disconnected, stay tuned.

**I am an Amazon Affiliate and may receive a commission on purchases made through the links on this page, at no extra cost to you.**

If you have spent time in or even visited any yeshivah in America or Israel, you may have seen many of the seforim (Torah books) having black tape on the outside and strings on the inside.

What is that weird stuff for? What is the reason that they put string and tape on all those books?

Why Choose Bookbinding?

First things first. The whole point of the seforim in Yeshivas is for them to be used with a lot of love. Lots of love means tons of use. The goal in places like these is to keep the seforim for as long as possible. As per the last post on preserving the longevity of your books, those measures are nigh impossible to do with a library that has its books constantly taken off the shelf and used, getting coffee spilled on them and the like.

Because of these reasons, it is hard to make sure that the seforim are able to be used for a long time. Most yeshivahs and many shuls opt to do what I call the “Yeshivish” binding method. This method is akin to the traditional Japanese or Chinese binding with added tape on the outside.

Bookbinding Preserves the Longevity of Your Books

What are the benefits of this method? Could “defacing” and poking holes in a book actually preserve it?

The answer is yes. What this method of book preservation does reinforces the original binding of the book. This is the kind of bookbinding that I do.

Supplies to Get Started Bookbinding

Now that we know the reason for doing this type of binding to a book, we need to know what tapes, strings, drill bits and the like are best to use.

When it comes to the “Yeshivish” binding, what size drill bit do you need? You will need a 2.5 mm long drill bit and wax-coated string. This is my go-to string.

Now that we discussed the bit to make the hole and the string to fill the hole, what type of tape do we use for the outside of the book? Some think that the proper tape is duct tape. However duct tape is not a great tape in most uses but particularly bad when doing bookbinding. It leaves a terrible residue and is sticky when it wears off. The best type of tape to use is Gaffer’s tape. Gaffer’s tape is traditionally used in theater productions and usually does not leave residue when it needs to be replaced or moved due to error of placement.

Now, there are a few Gaffer’s tape companies that I have found works best in the last 17 years of doing the “Yeshivish” binding. The companies are Shurtape, Pro Gaff, Gaffer Power, and Polyken. I also found that Bron Tape inc. makes an amazing gaffer tape but have only seen it on ebay, and it is hard to find.

When doing the “yeshivish” binding, it is advisable to put tape on the hinge right inside the cover. Ideally one would put white gaffer tape there.

While the other companies mentioned above would work, I try to use a thinner gaffer’s tape that I don’t like as much for the outside. This company is called Welstik. This company is good but just doesn’t meet my standard for putting on the cover.

Other materials needed are a bone folder, box cutter, exacto knife, good scissors, and a lighter to bind the string together after you tie the knot).   

It should go without saying that you will need some sort of drill, hand drill (any household drill will work) or drill press.

Next blog will detail the process of actually fixing and putting the binding in the book.

**I am an Amazon Affiliate and may receive a commission on purchases made through the links on this page, at no extra cost to you.**