Archives for category: Uncategorized

Last time we discussed the “Yeshivish” binding for books. Today we will look at the “Oxford Hollow.” 

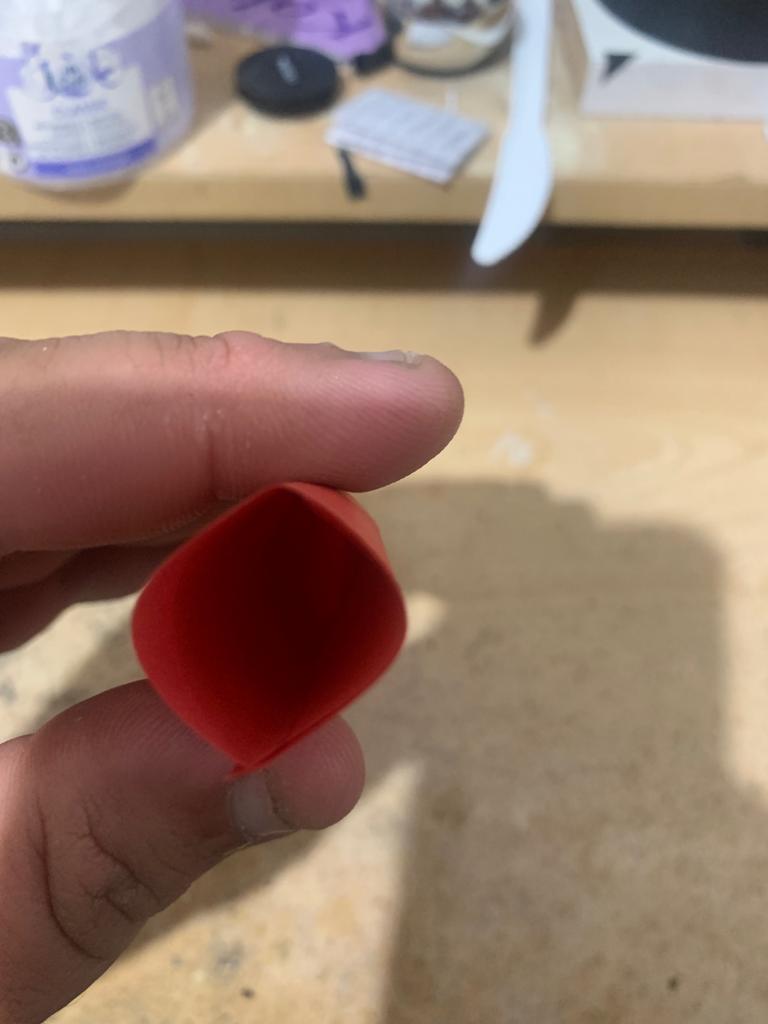
What is an Oxford Hollow, you might ask. Picture an Oxford tri-fold folder but smaller and the size of the spine of a book. 

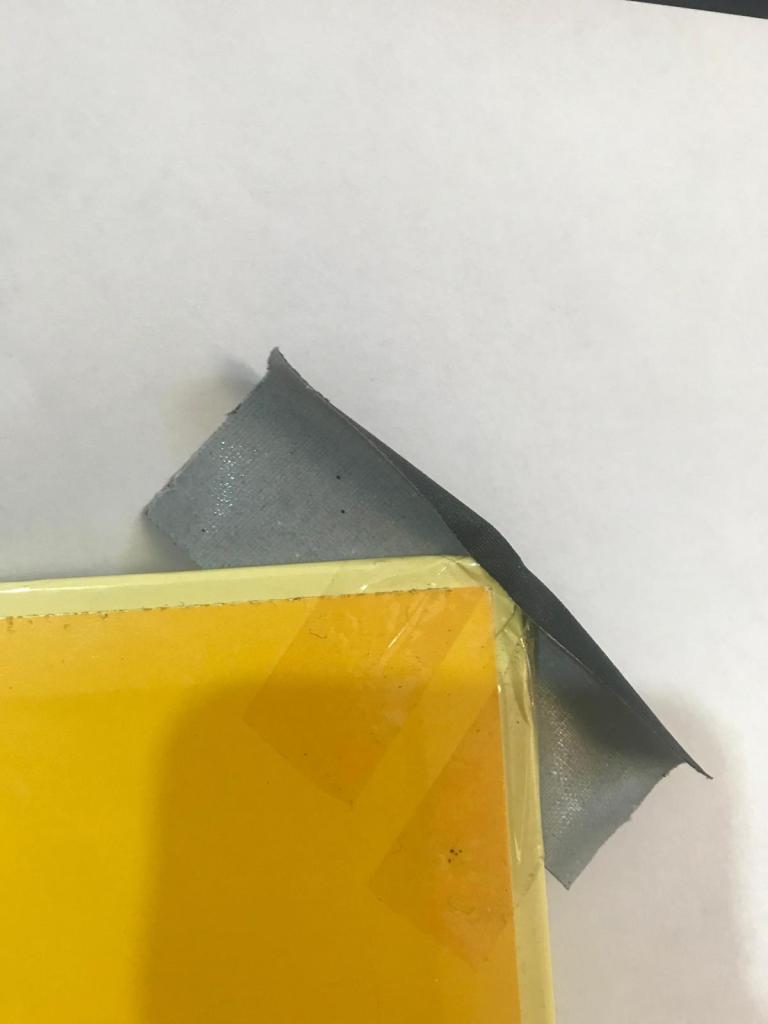
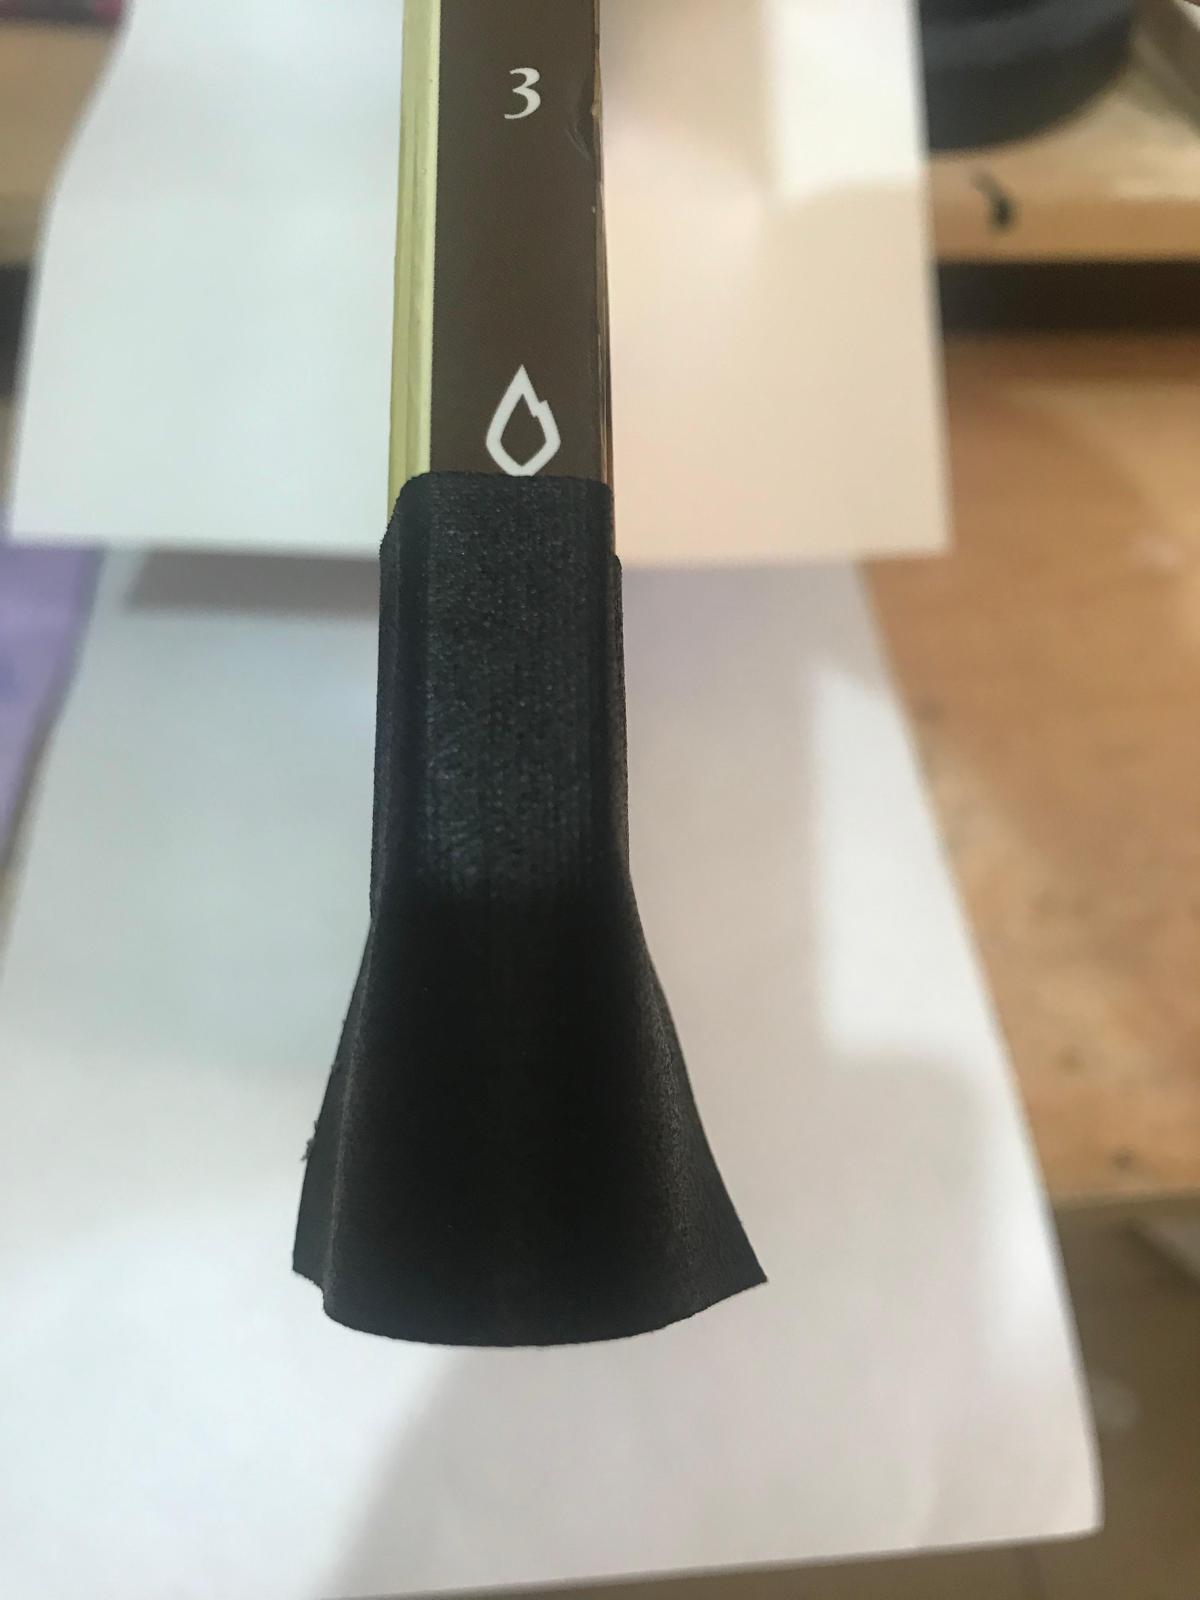
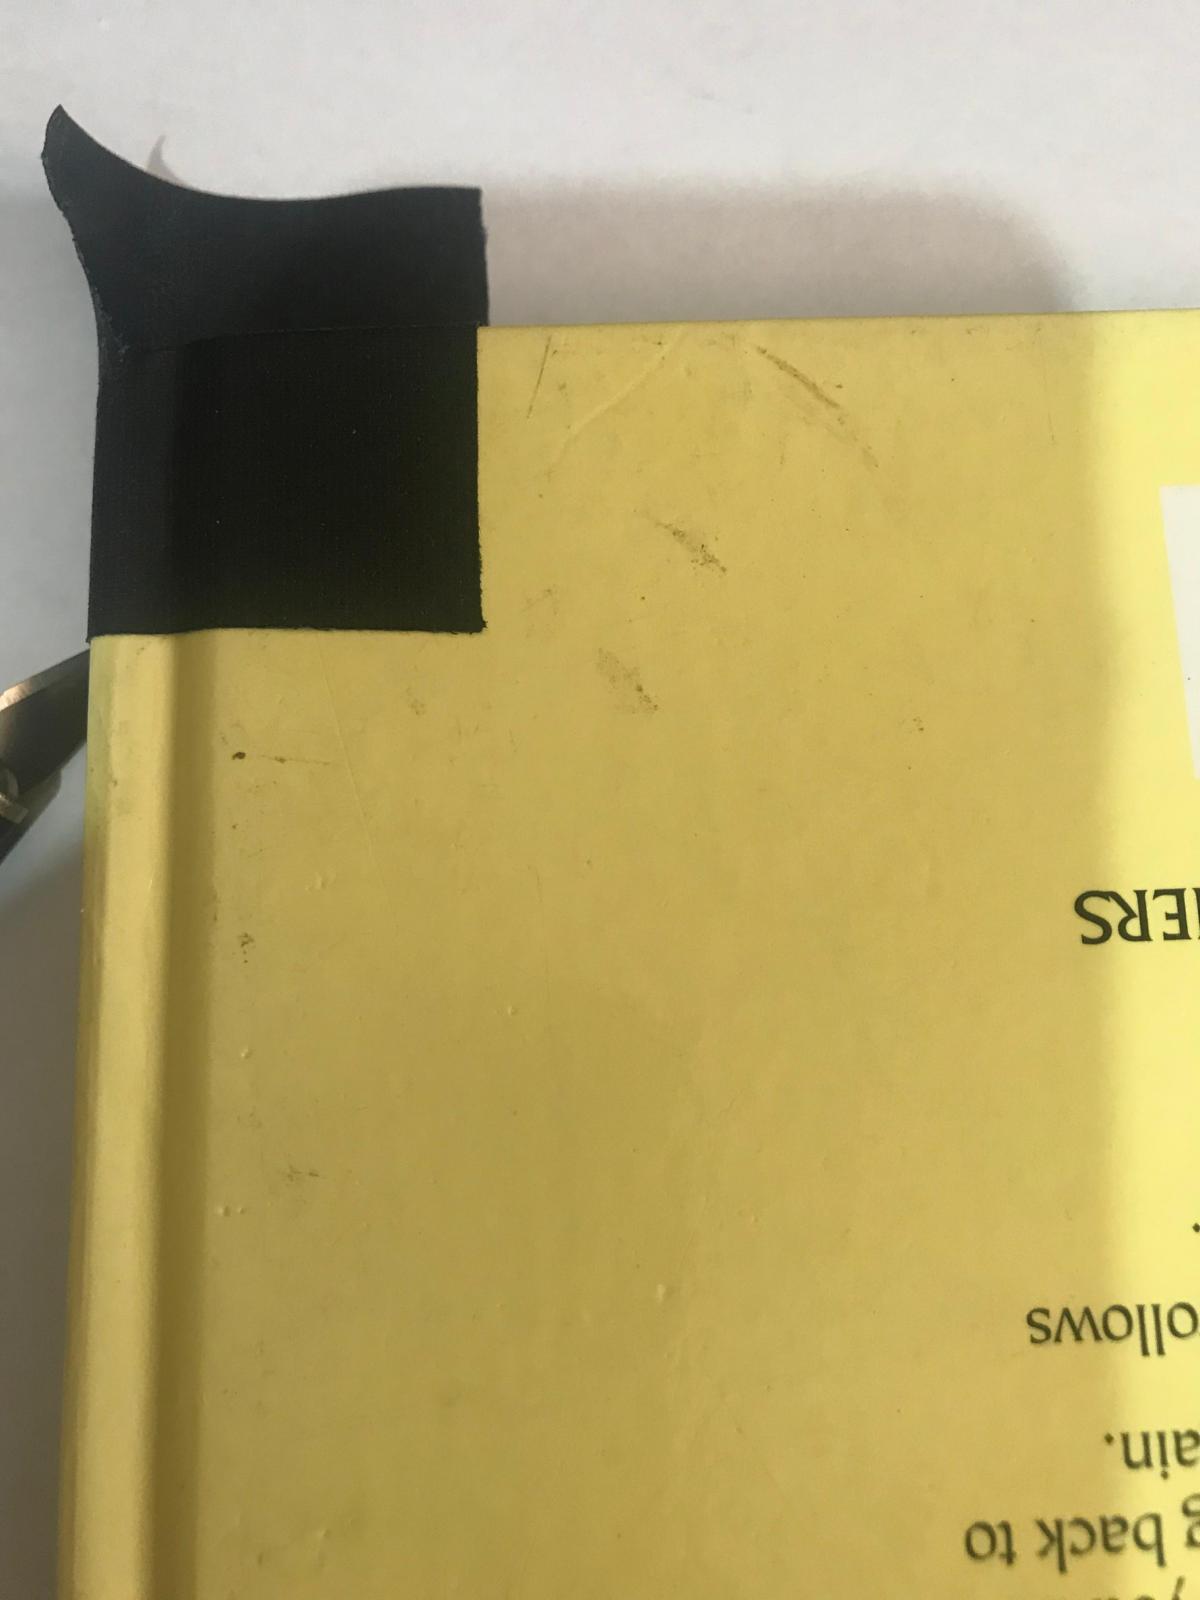
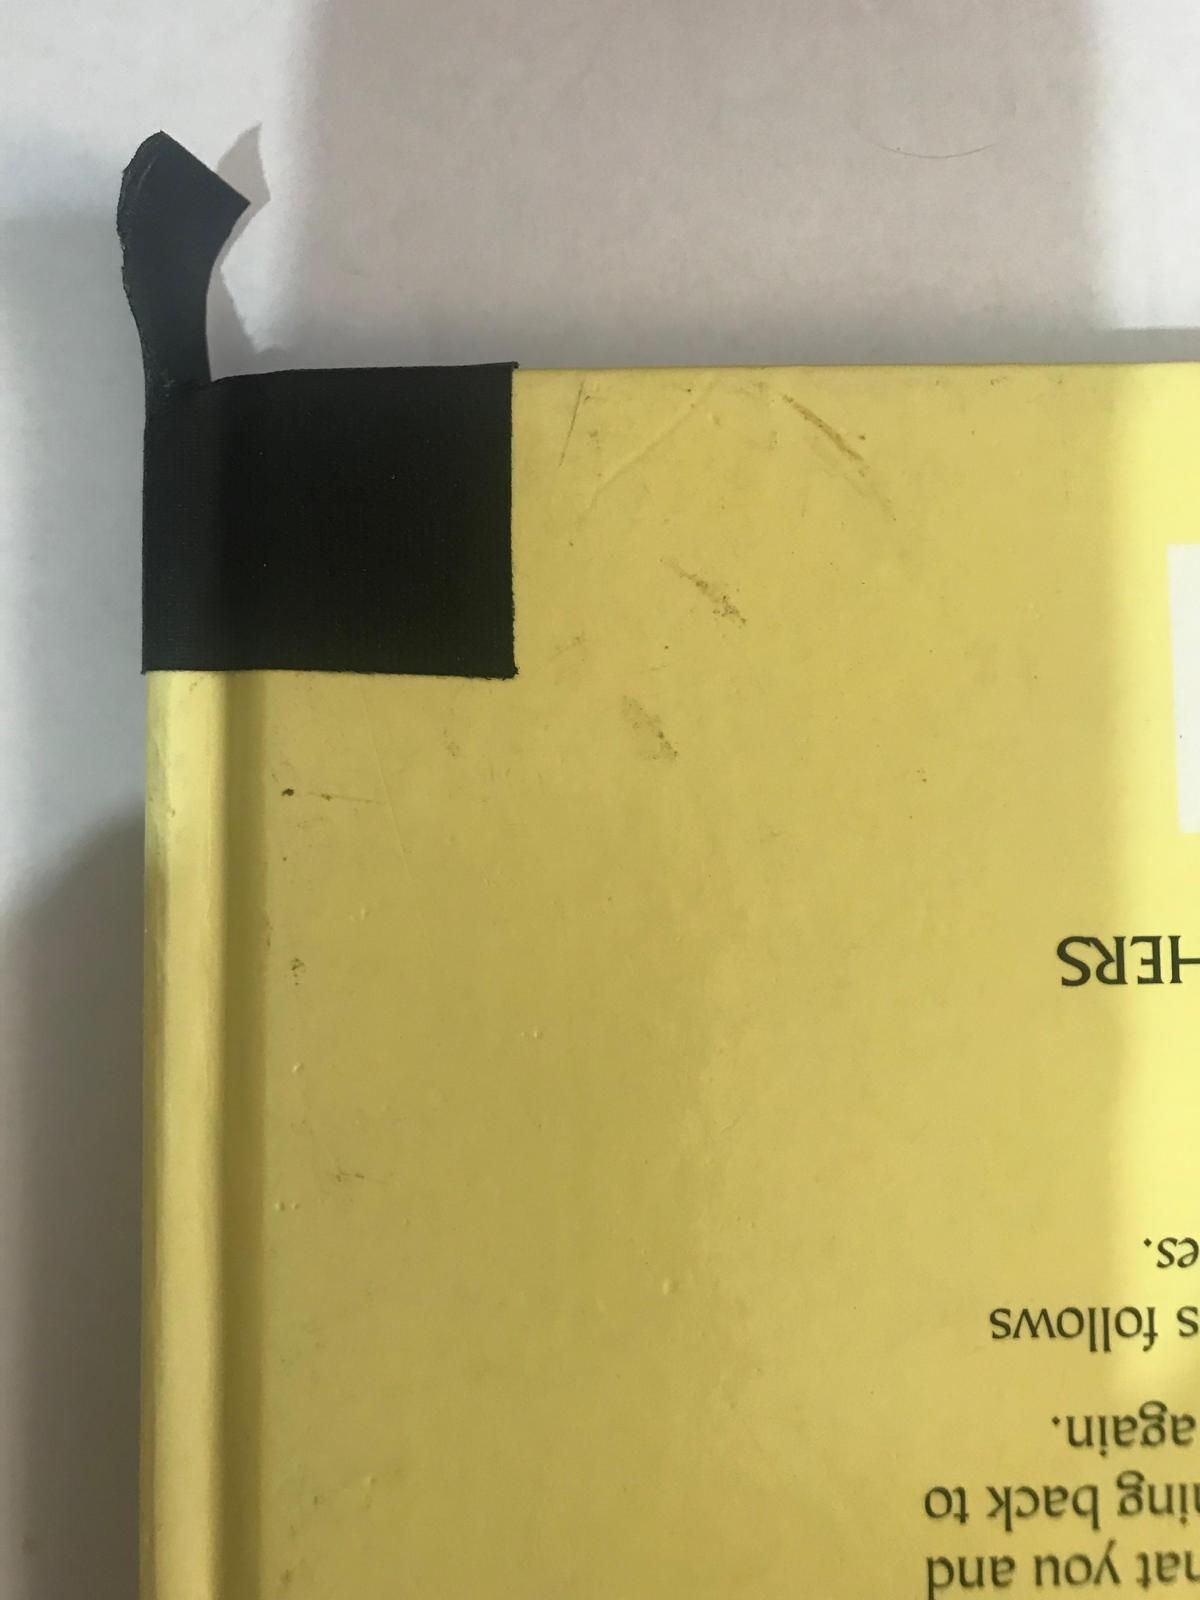
When and why do I use an Oxford Hollow? I use it when I fix a book whose cover is falling off or has already fallen off. The hollow helps keep the spine and book pages together. 

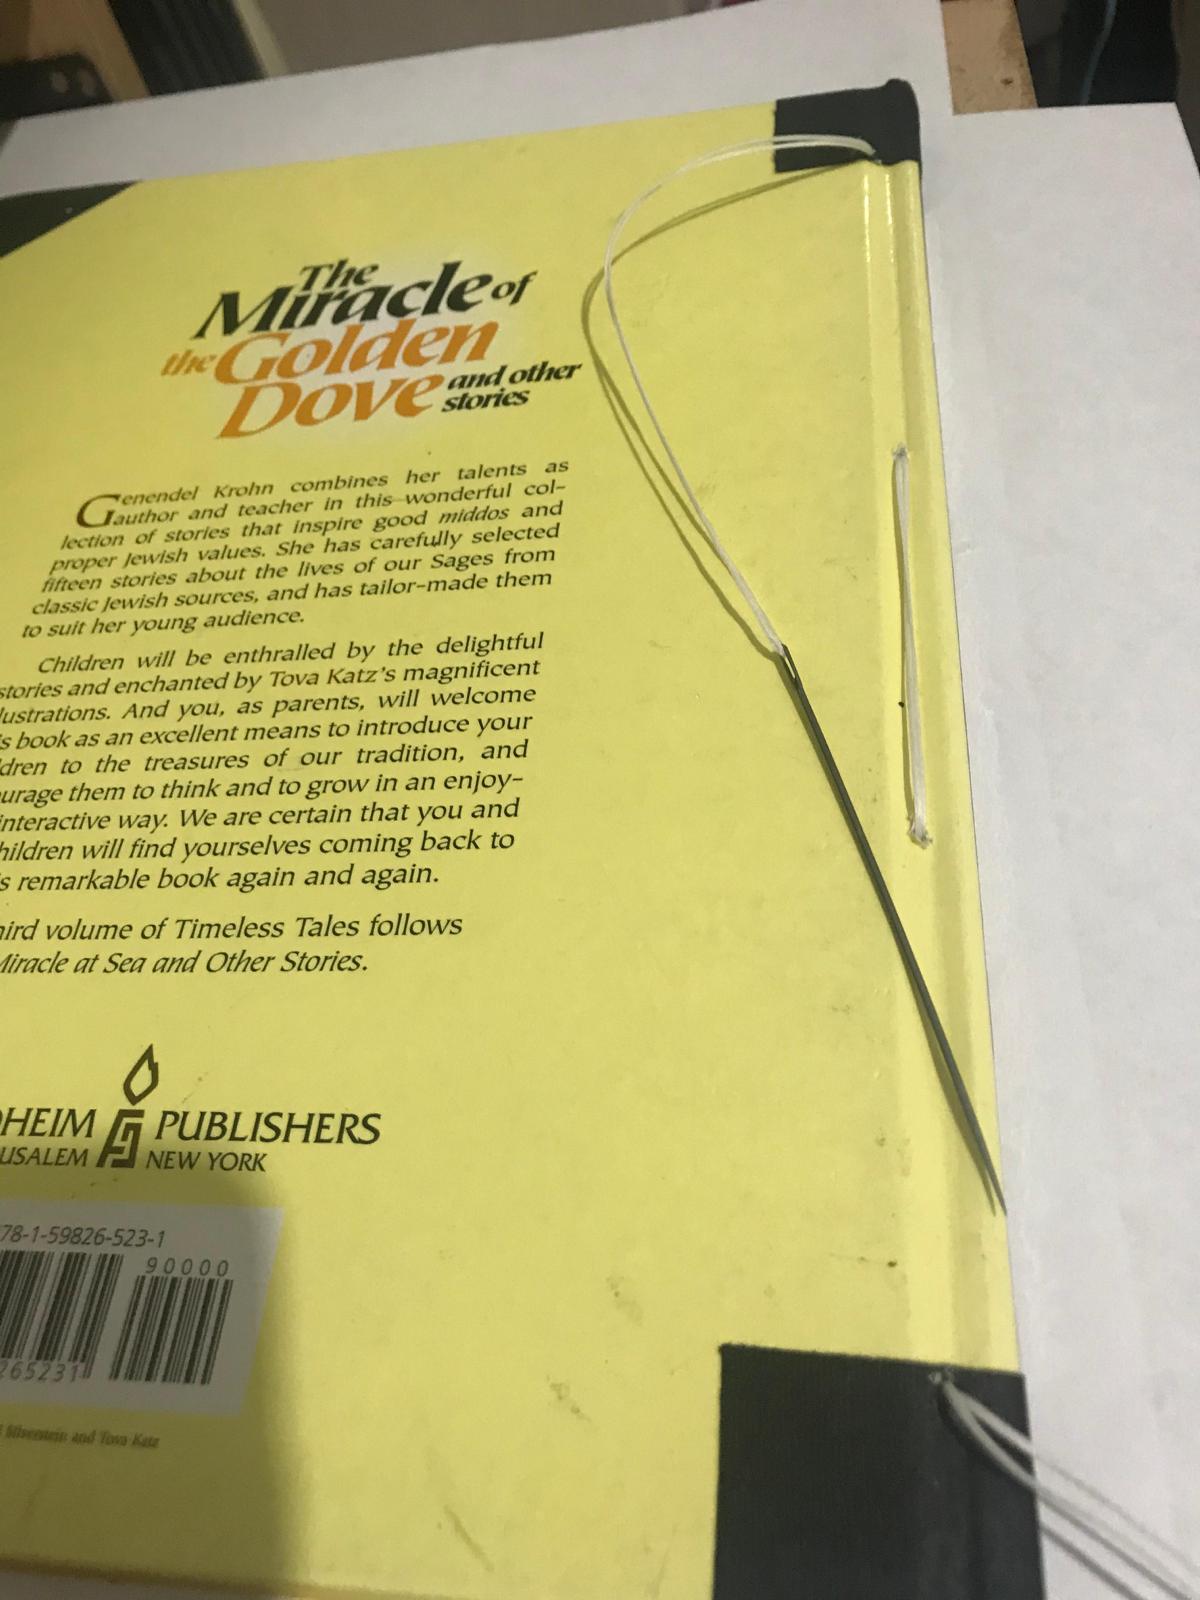
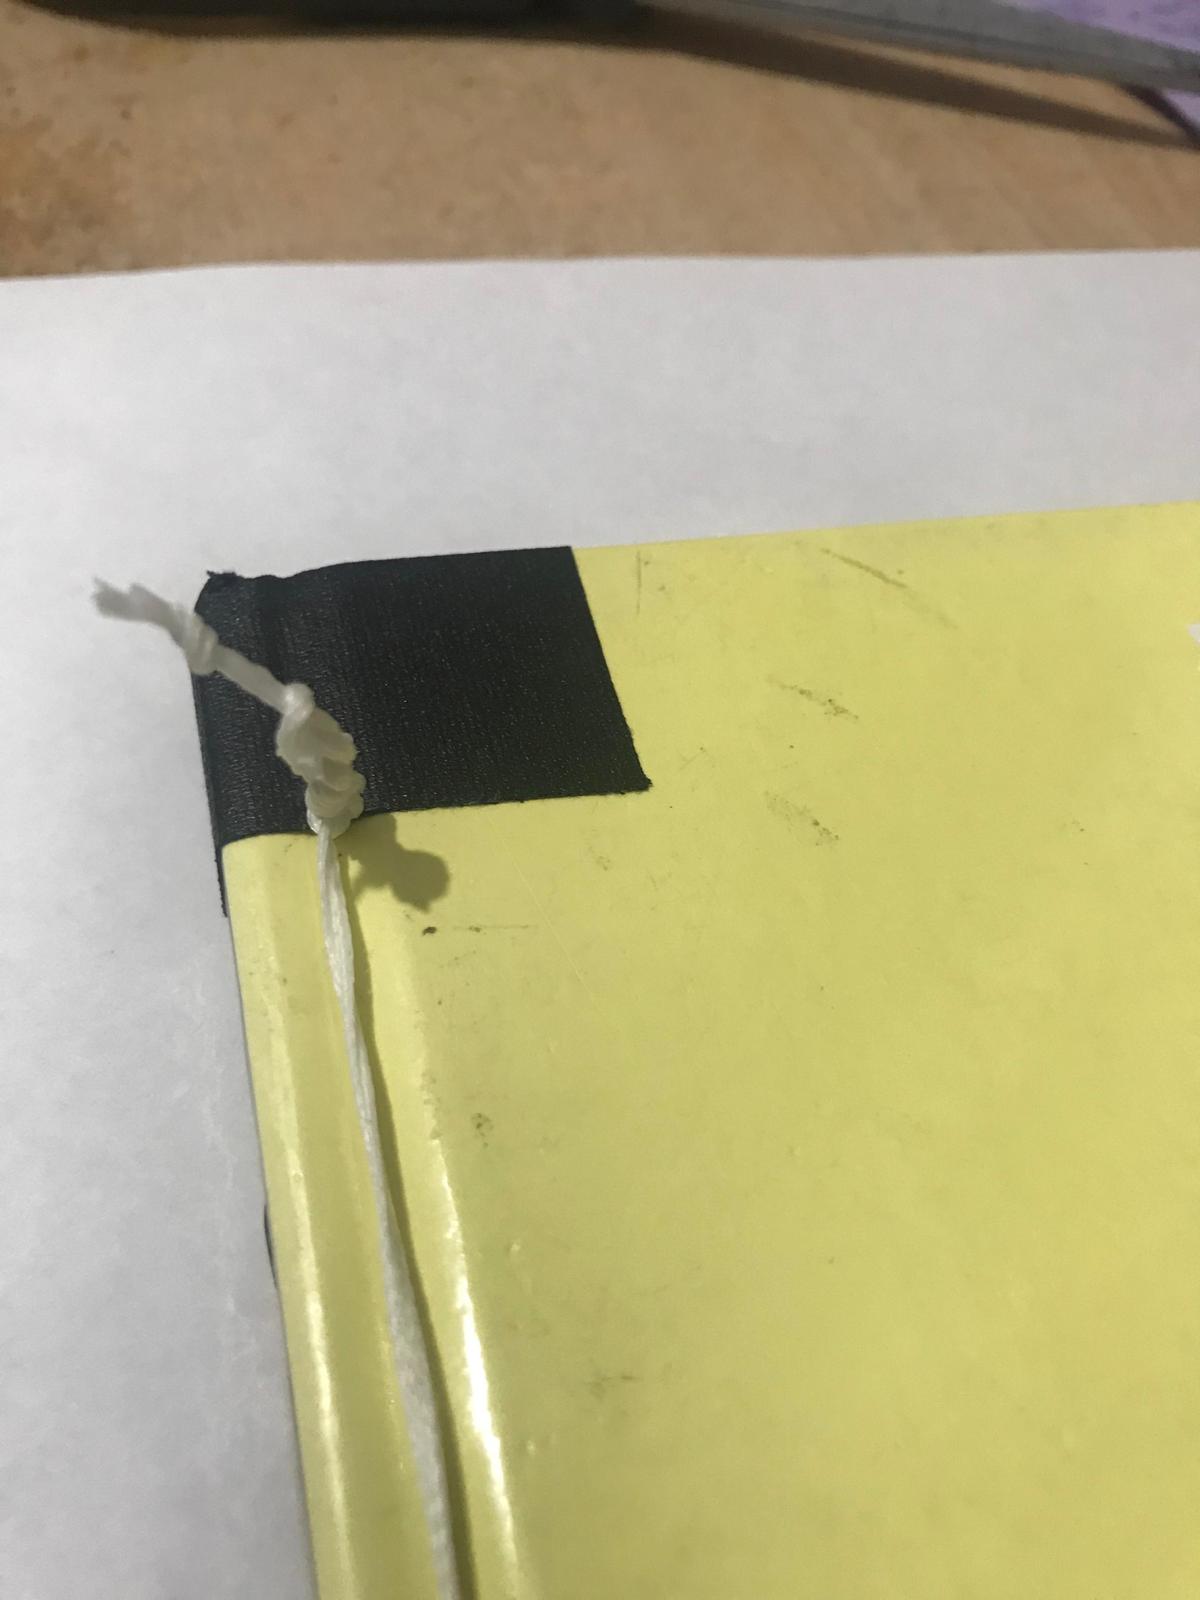
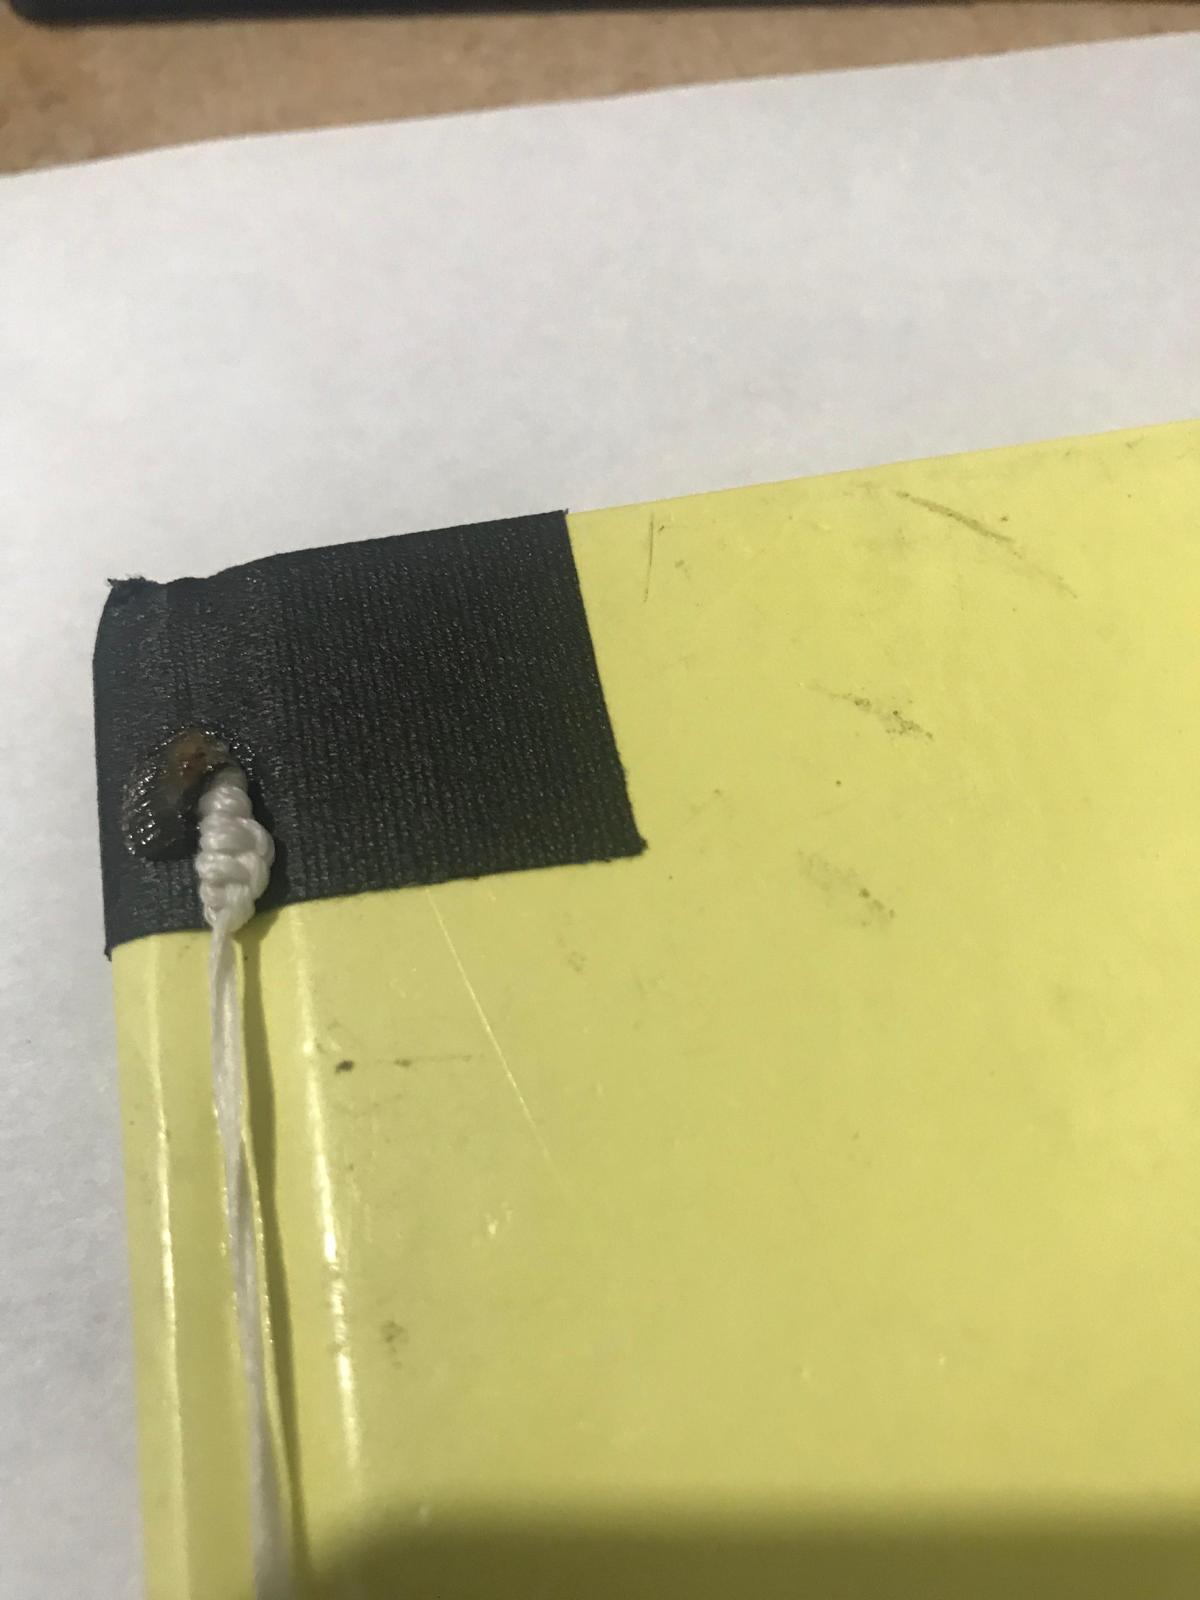
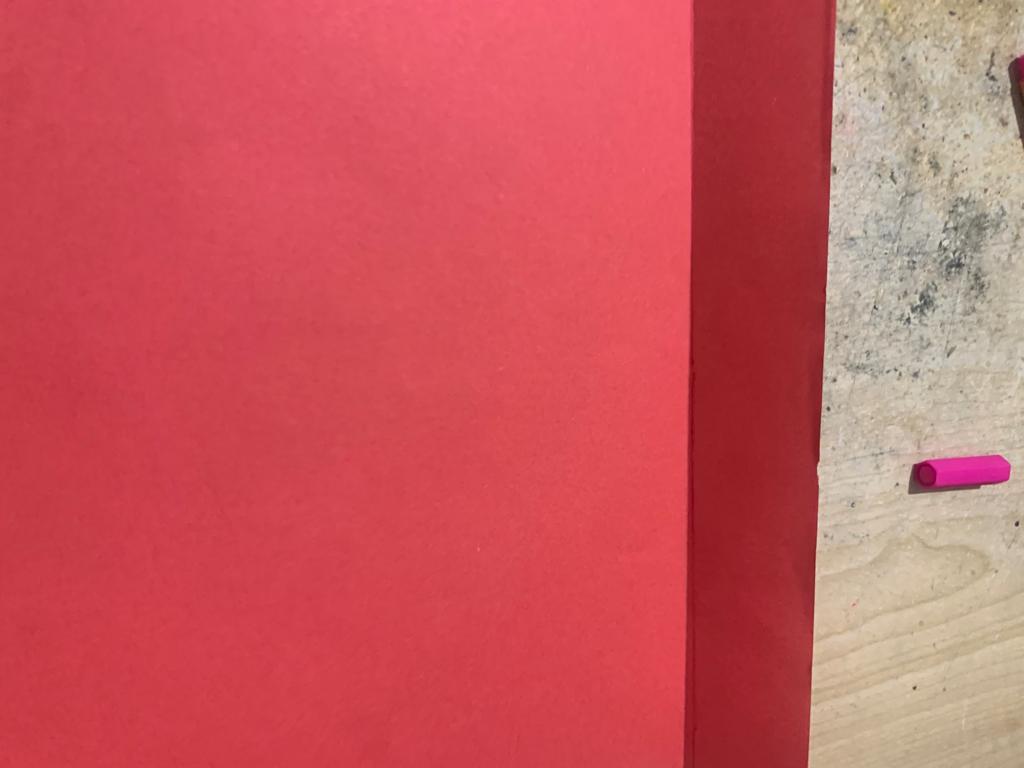
If you take a book apart, you will see by the spine there is usually a small brown piece of paper glued to the pages but not glued to the spine. This piece of paper helps keep the pages together but does not help the book stay together. 

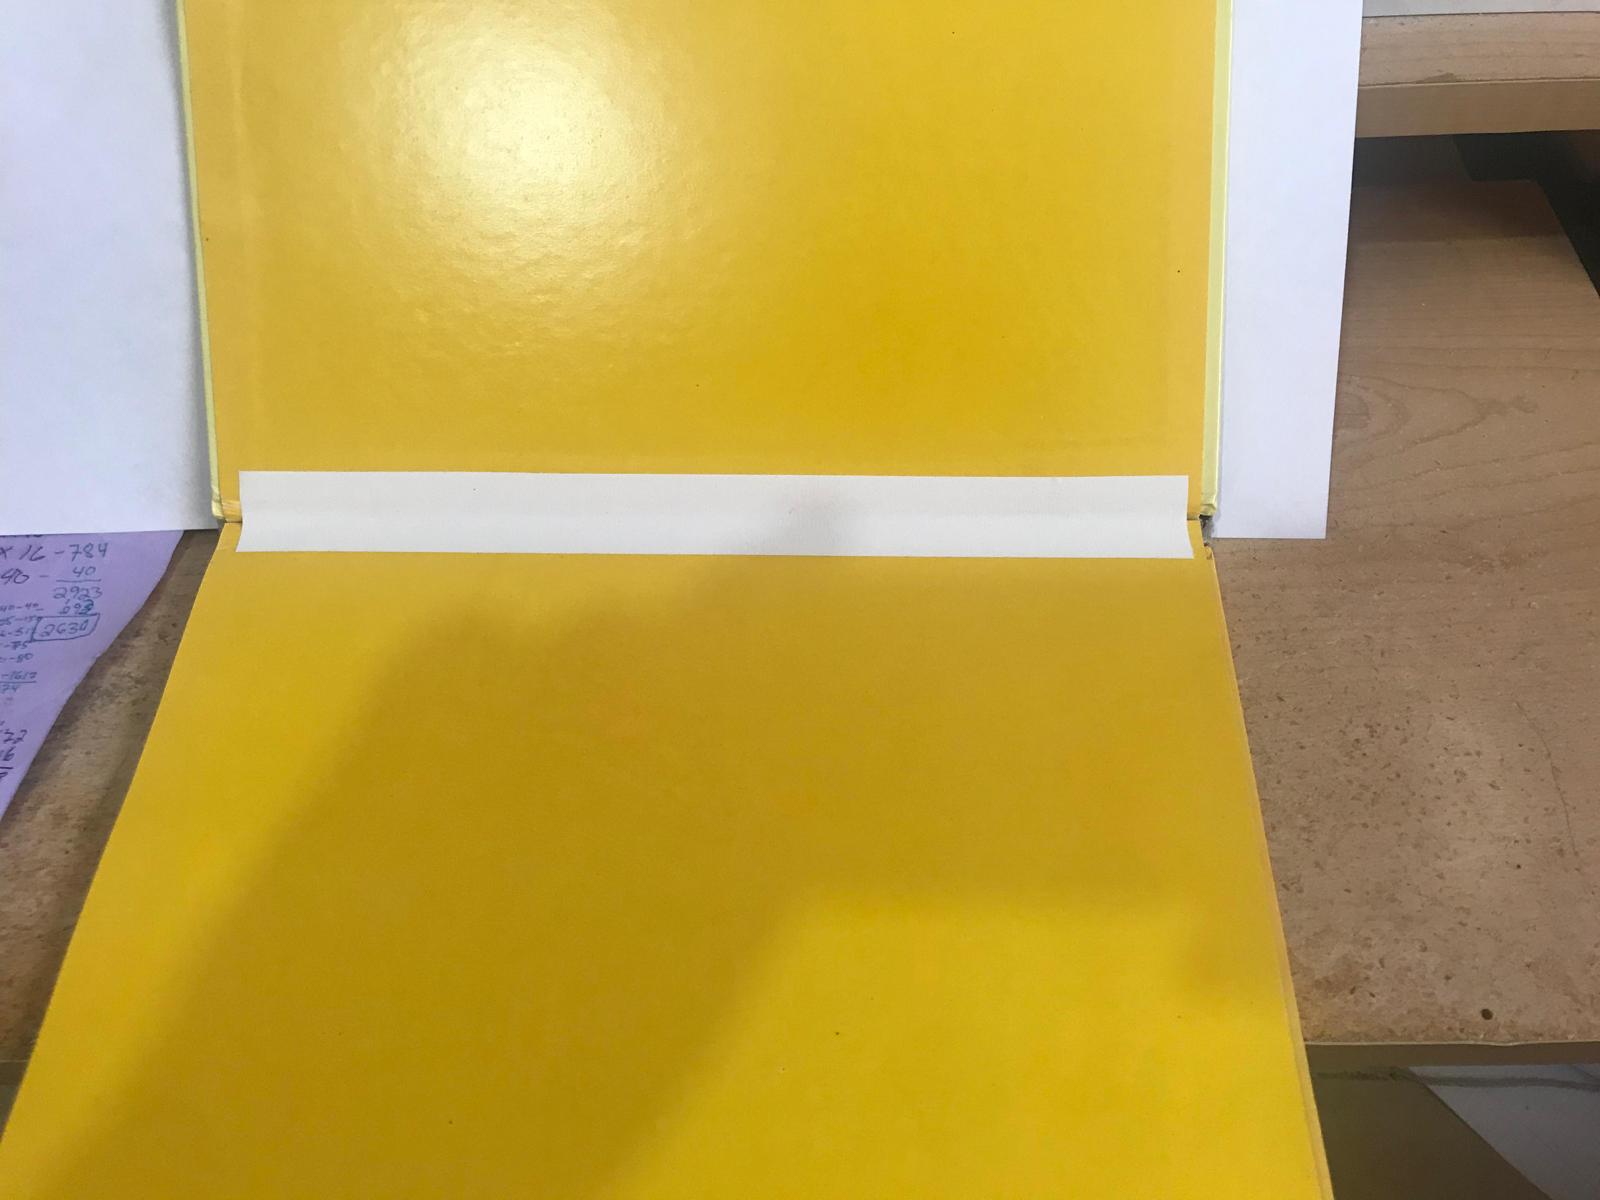
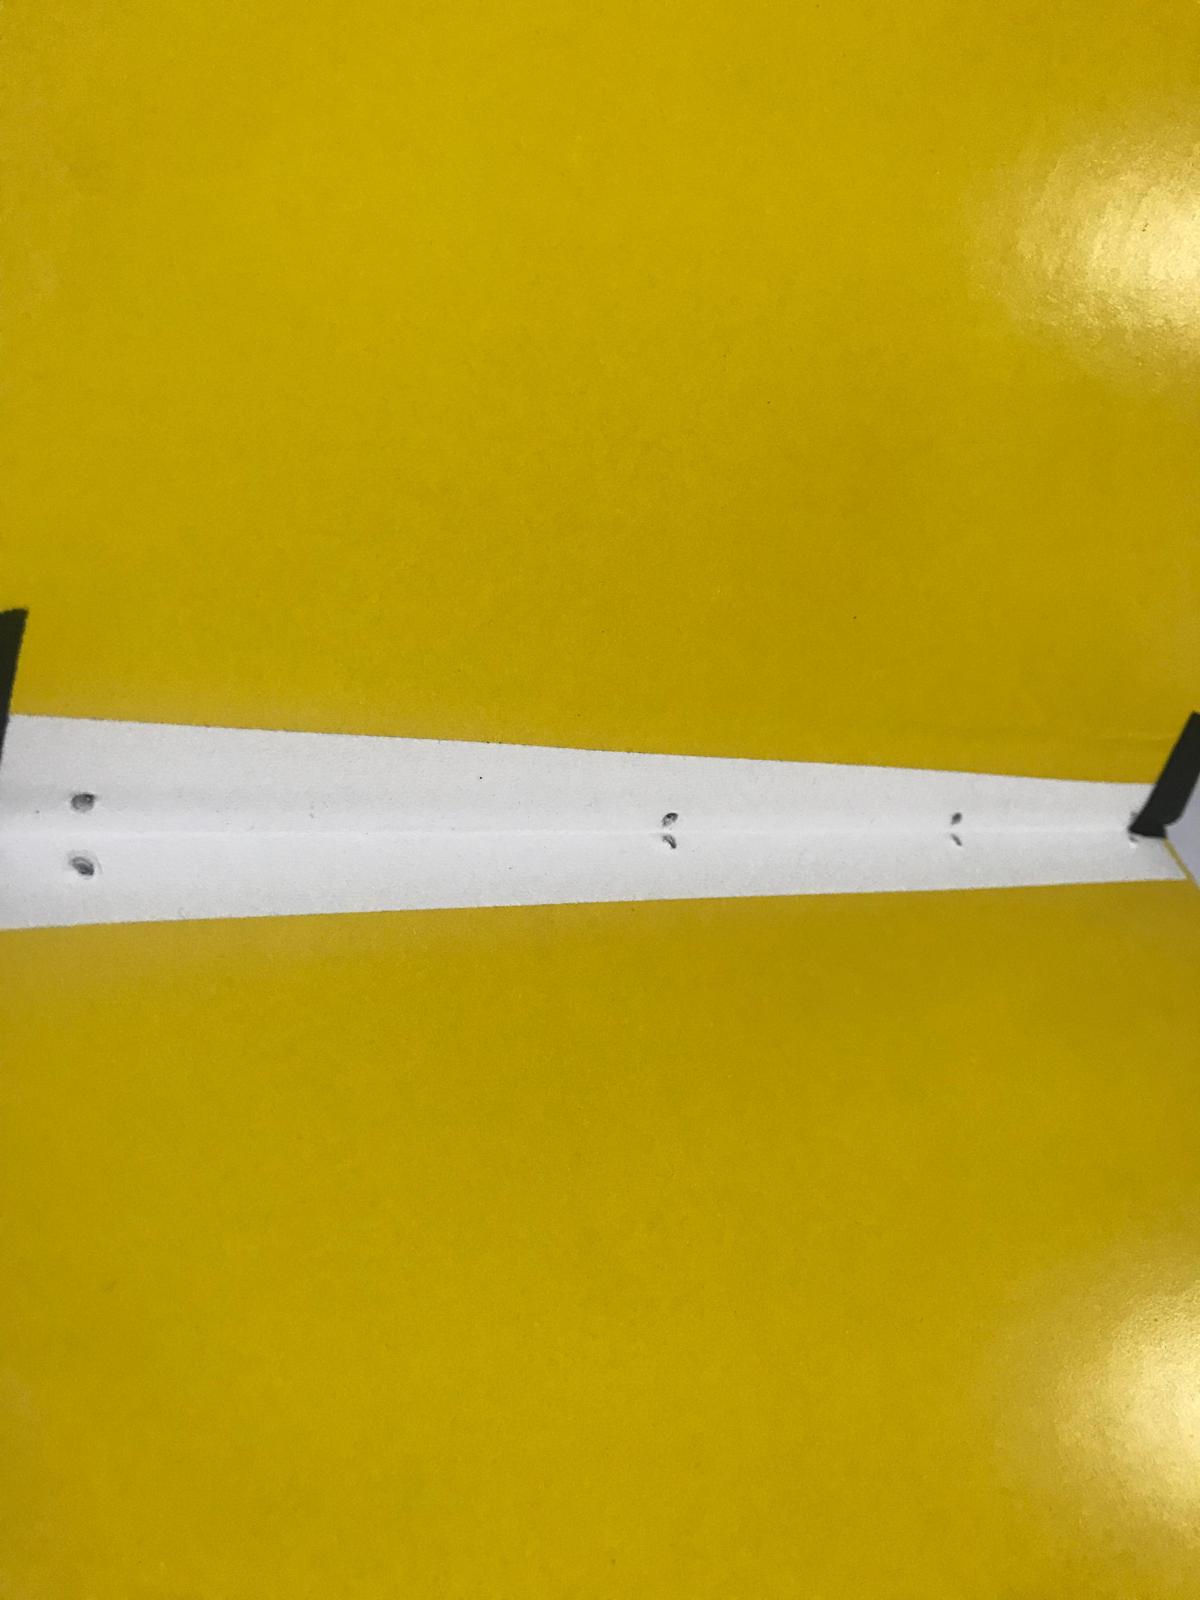
When fixing a book that needs the extra support, I take a piece of heavy paper and measure out enough paper so that I could fold it over like an oxford folder.

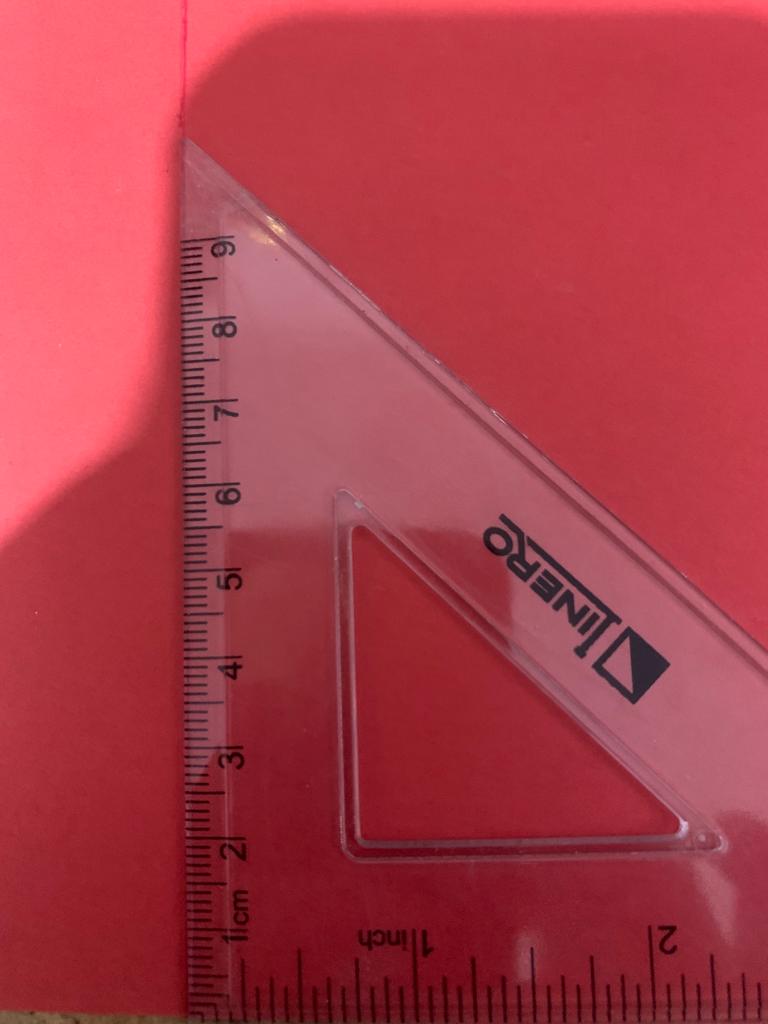
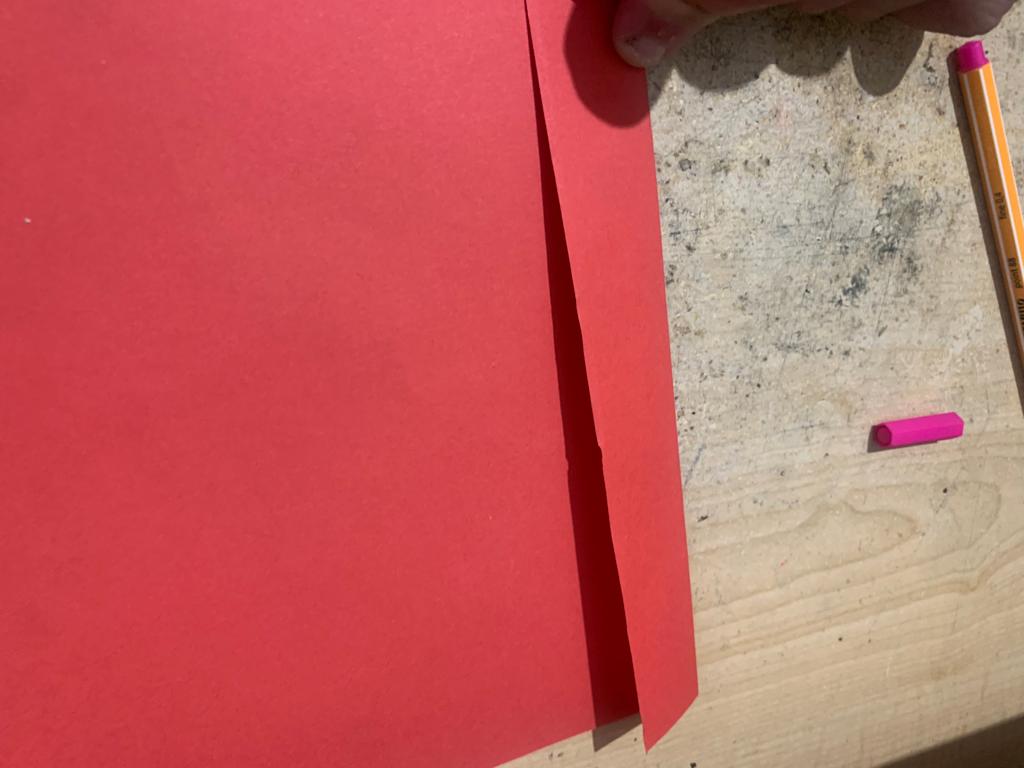
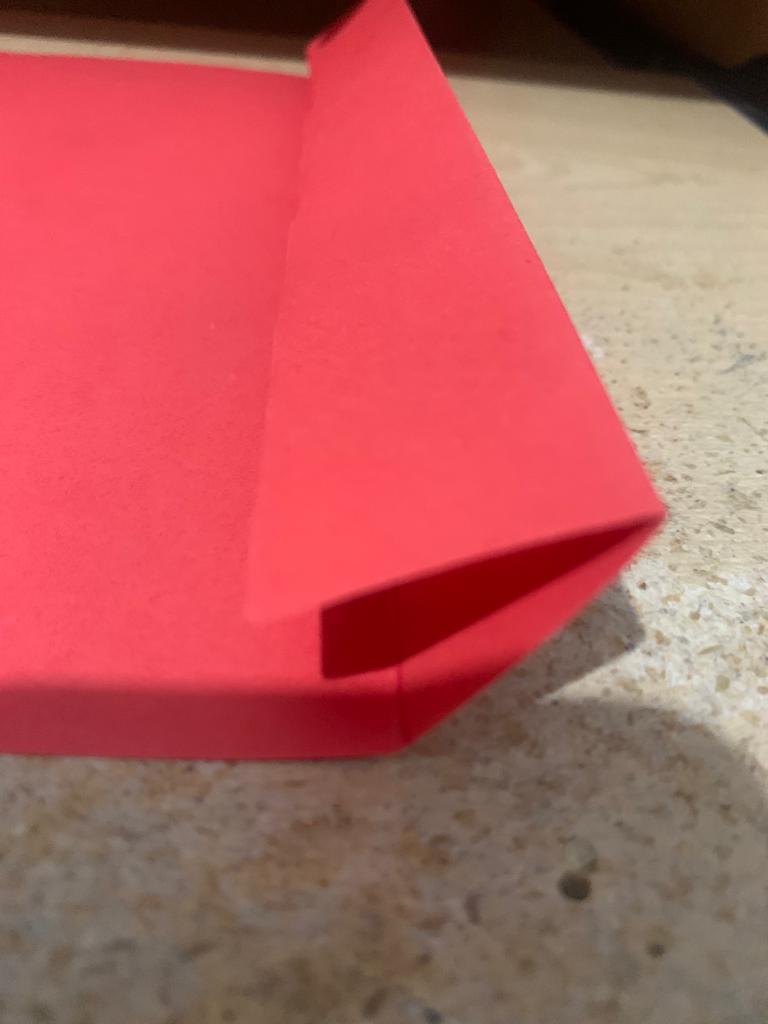
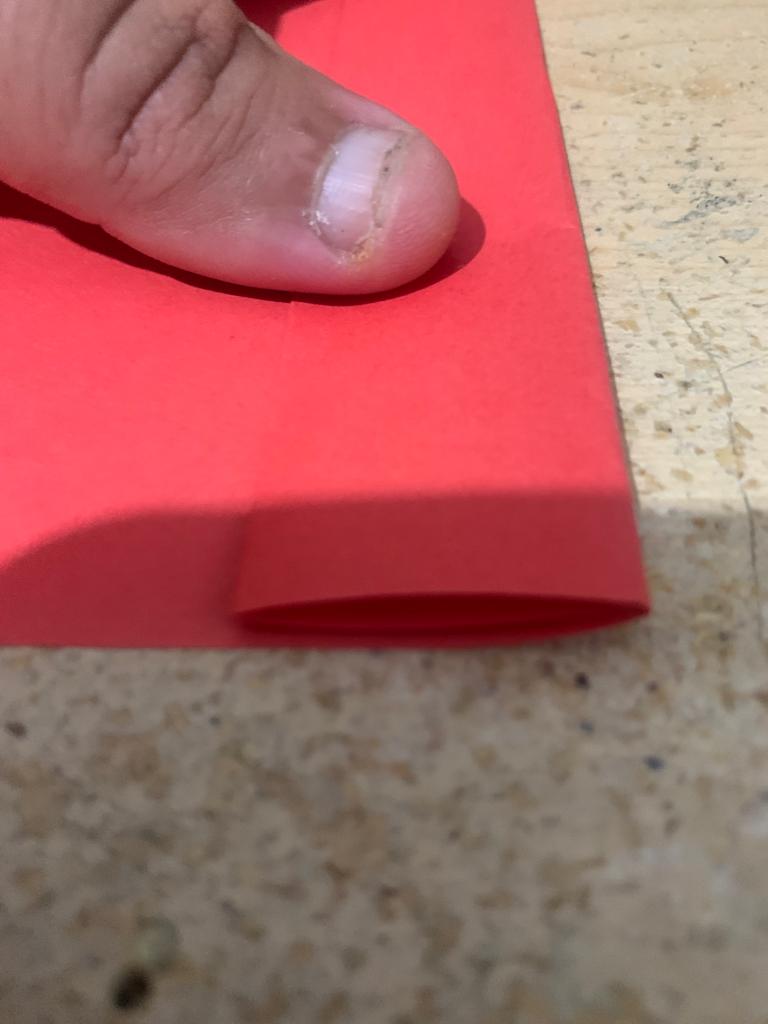
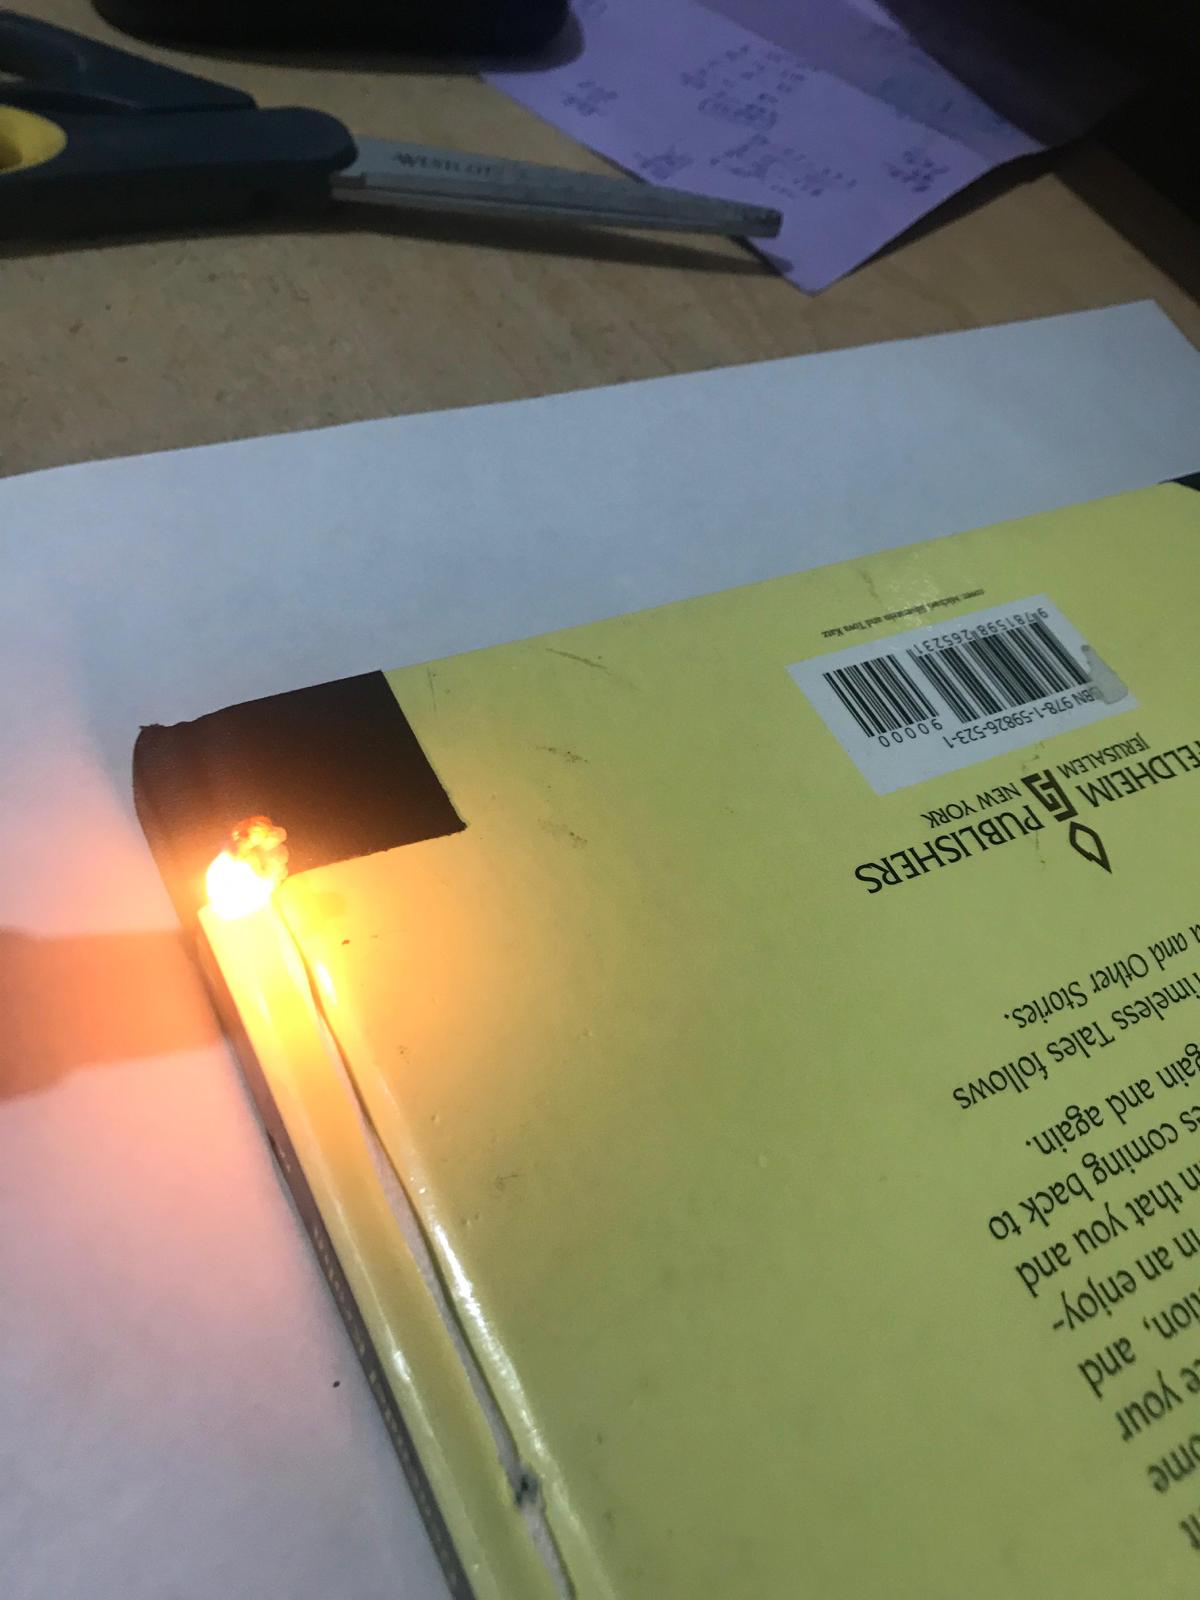
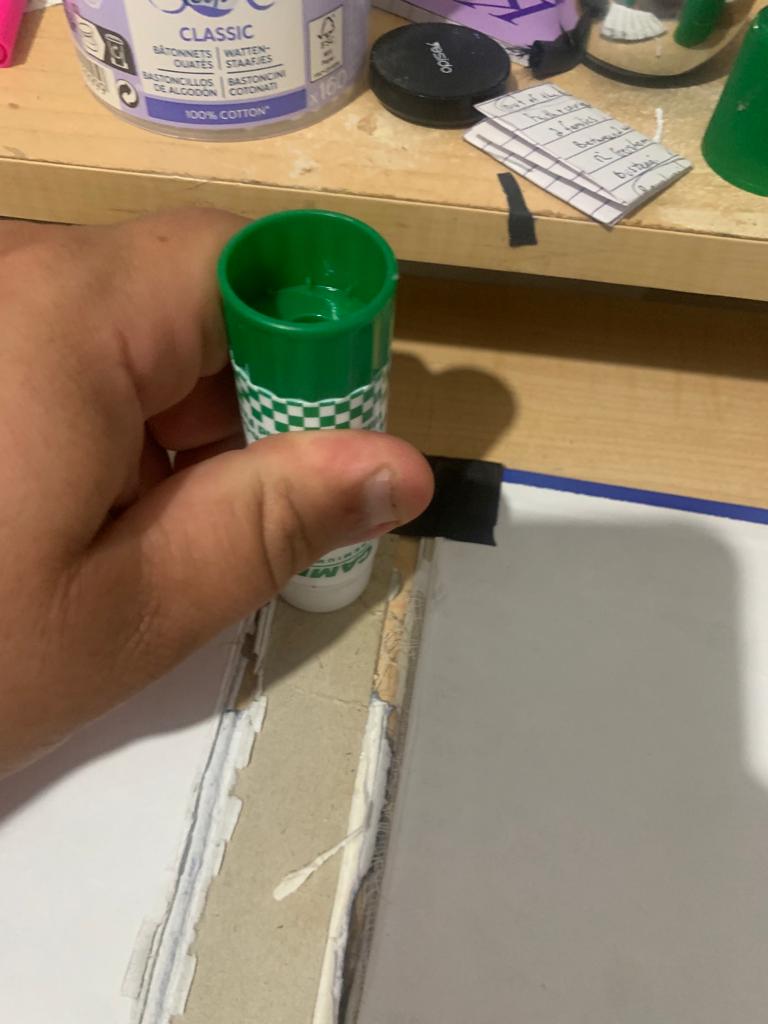
The folded page should be a little smaller than the width of the spine. On the doubled-over side, use a non-acidic glue (either in the form of a glue stick, craft glue, or archival glue (this is another good option).

Once the oxford hollow is dry, glue the doubled-over side to the pages and the single side to the cover. 

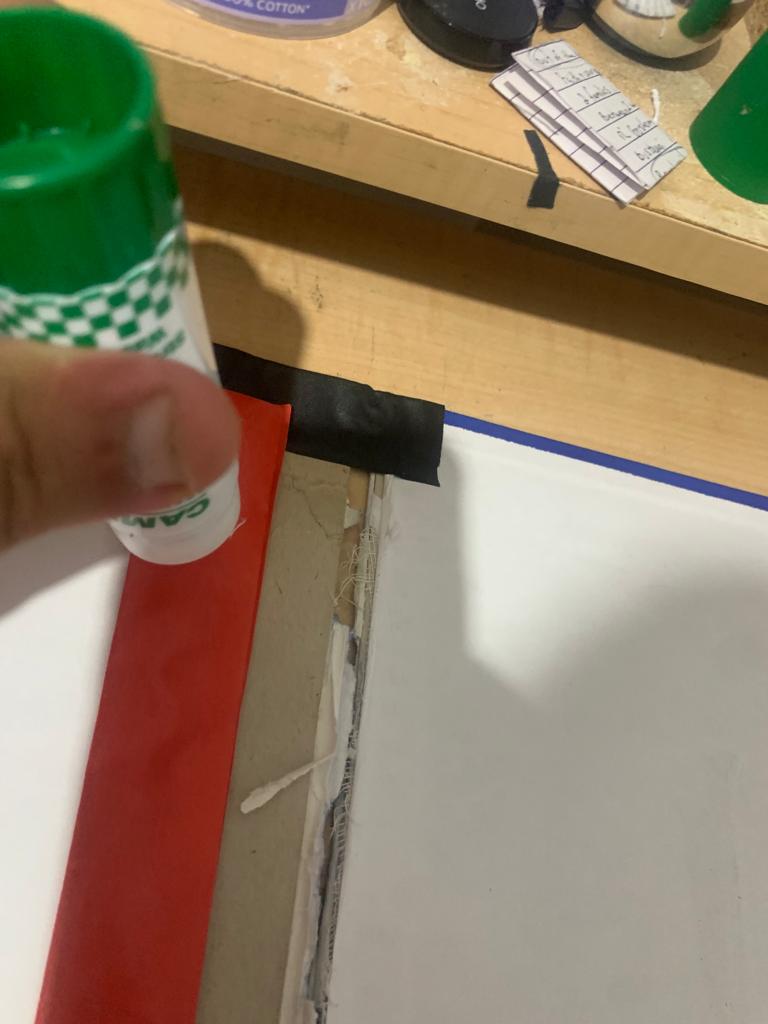
Doing this will alleviate wear on the hinge by adding another point of connection for the signatures and the cover.

Once done, let it dry and finish with the repair. 

Once you’ve determined you want to bind your sefer, how do you actually do it? In this post I am going to describe the general process of binding a sefer. I have been binding seforim for more than 12 years. I started with my own seforim and then bound for friends, and then started binding for other customers who want their books fixed or reinforced, including shul and Yeshiva libraries. 

As with any craft, the attention to detail is what sets one bookbinder apart from the next. Make sure your tape is placed evenly and symmetrically. Choose colors that complement the book. The more pride you take in your work, the more it will show.

When Is the Best Time to Bind Your Sefer?

When it’s brand new and hasn’t encountered any damage yet! That way, you will enjoy it for many years to come.

How to Bind a Sefer in Good Condition

These are the 5 steps that I take when I bind books or seforim.

First, I take stock of the book. Is the spine ripped? Did the whole cover fall off? If yes, I look more thoroughly at the book to see if there are pages that are loose or have fallen out.

Then, I prep the book by taping in a few key places, prior to drilling the holes in the book.  (The book pictured below is one of my kids’ books, not a client’s)

I put a strip of 1” white tape on the inside cover.

Then I put 1.5” black tape diagonally on each corner of the cover. Step by step pictured below. See the prior post for my favorite Gaffer tape companies. (Ignore the scotch tape; residual from my 6-year-old’s attempt at “fixing” the book alone).

After, I put 2” black tape on the spine at each end, cut through it with a box cutter, and wrap it fully over the spine.

This is what it looks like when it’s ready for drilling.

Next, I drill 2-6 holes, depending on the size of the book, straight through the book, close to the margin. For this, I use a 2.5-mm-long drill bit.

Once the holes are made, I sew the string through the holes.

I then tie the ends together and secure the knot with a little heat.

After I string up the book, I usually spray a lacquer on the side of the book on the spine to protect the words from wearing off.

Once the lacquer is dry, I use 1” black tape down the spine to cover the string.

Your book is now done.

For more complicated books where the book and cover are disconnected, stay tuned.

**I am an Amazon Affiliate and may receive a commission on purchases made through the links on this page, at no extra cost to you.**